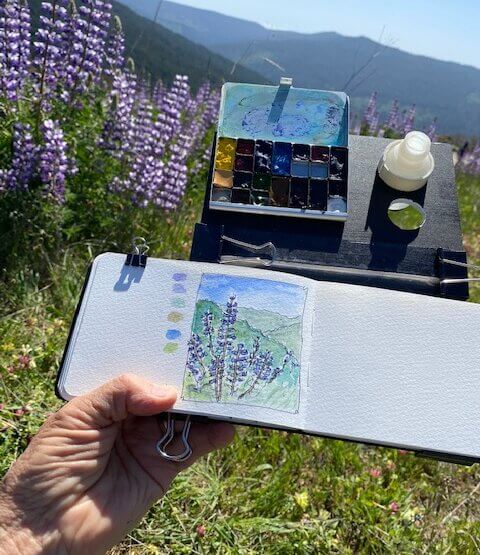
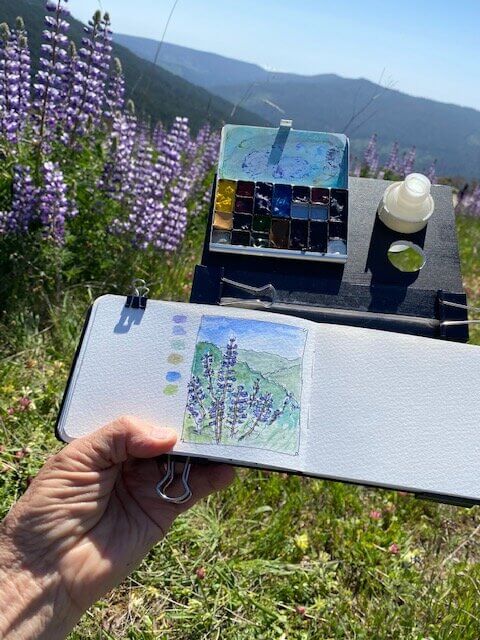
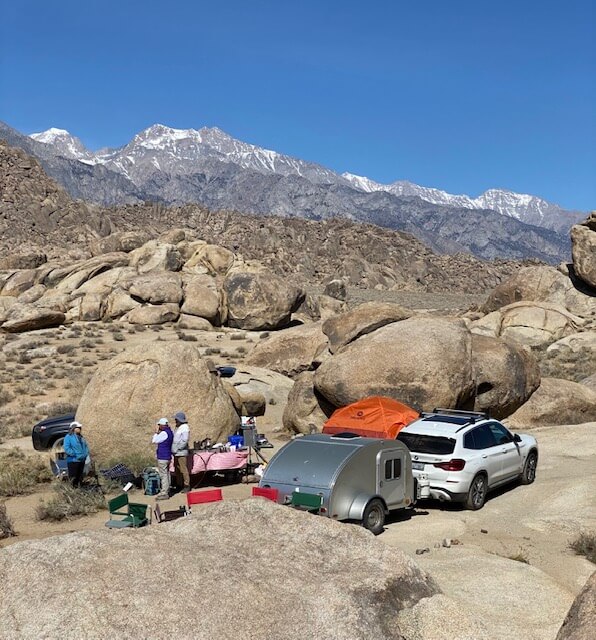
Everyone finds different ways to watercolor journal outdoors. I like all my supplies close at hand and I don’t want to root around in a bag after I start. At a campsite I use a camp chair with a pockets and a pop-up tray. Everything I need is close at hand. When hiking I will take a very small tripod camp stool that I carry on my shoulder. I also journal standing up. In these last two scenarios I attach all of my supplies to a support board which has the added benefit of letting me move around. I am able to hold everything in my left hand leaving my right hand free to draw or pet my dog, Tracy. It takes a minute to set up – that’s it.
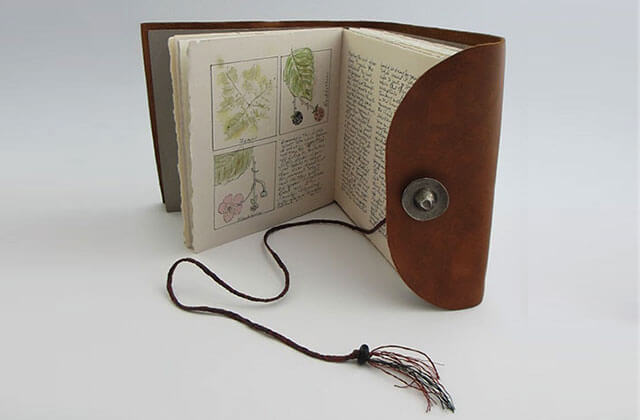
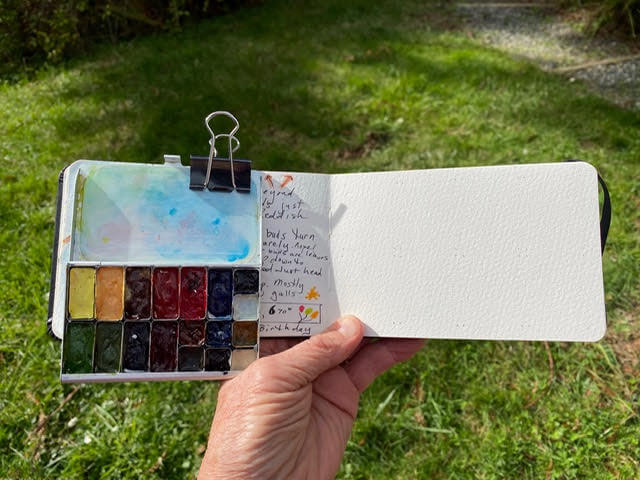
First let’s look at a simple solution used by artist Amy Stewart (former Eureka resident, author, and artist). She carries all of her supplies in a shoulder/cross-body bag. She clips her watercolor palette to the sketchbook. She uses the journal itself for the support board. If this suits your purpose then read no more!
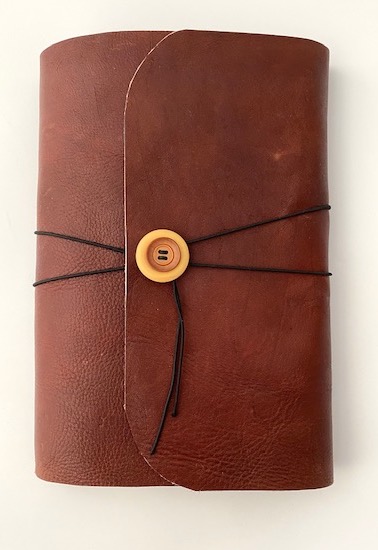
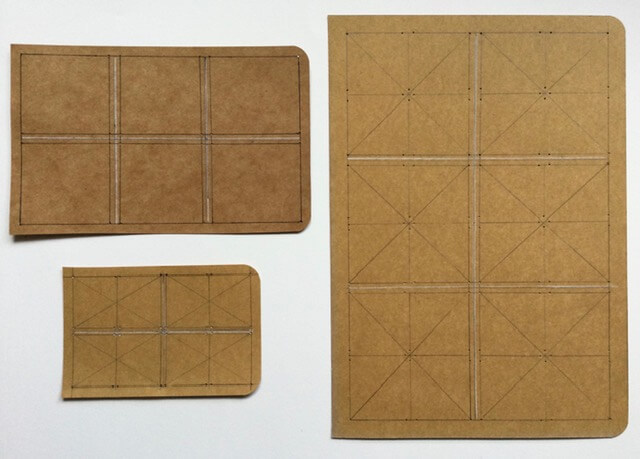
The board I use is adapted from Urban Sketcher Liz Steel. She carries a lot of supplies in her cross-body bag. I don’t carry as many things but what I do use I attach to the board – which after use folds up and goes into my cross-body bag. My journal is a Moleskin watercolor journal, 3.5″ x 5.5″ (opened it is 11″ wide). I made another larger support board for my Moleskin 8″ x 5″ journal. You can make the boards from coated foam board, Coroplast, book board, or a repurposed game board. You just need something that doesn’t bend and is lightweight. I would not recommend cardboard as it can bend and it too thock to clip things to. NOTE: You do not have to create a board that folds – you can just cut a board that would be the finished size of our open foldable board. *Foldable boards are easier to carry because they are smaller.
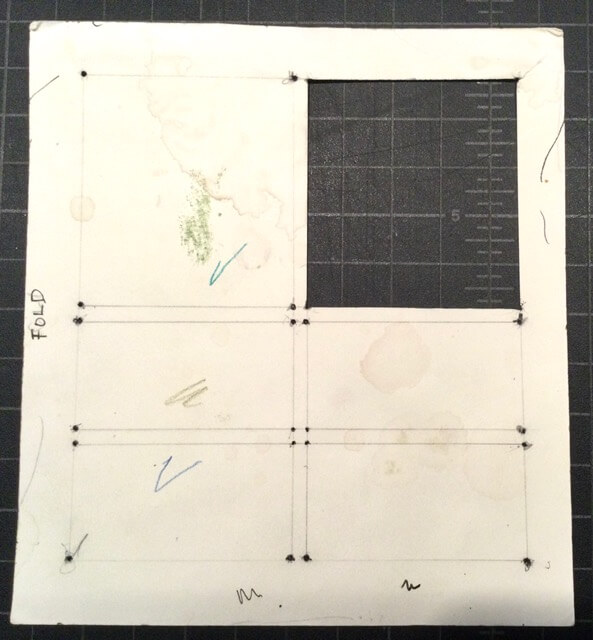
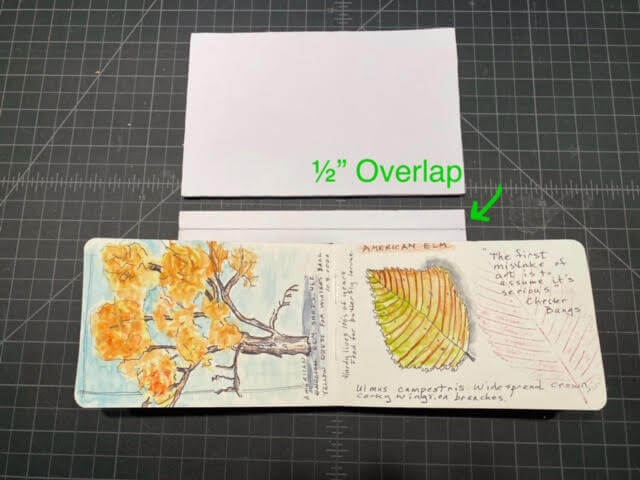
1. DETERMINE SIZE NEEDED
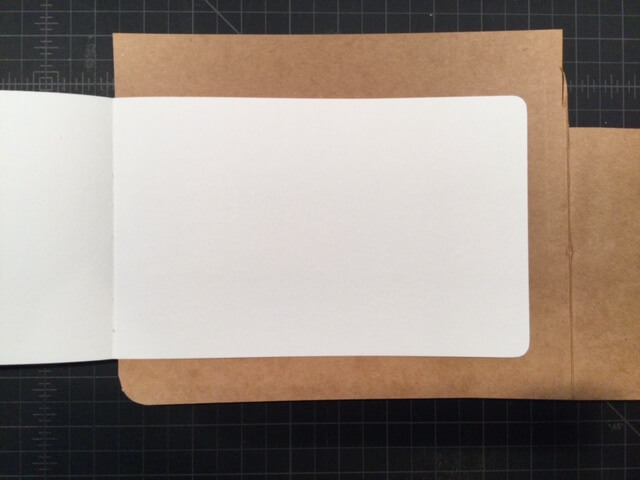
* Open your journal. Lay it along the board you intend to cut. The bottom of the journal should rest on the bottom of the board.
* The Width should cover the spine as well as half of the way (or more) to each fore edge of the open journal. Make a note of the Width.
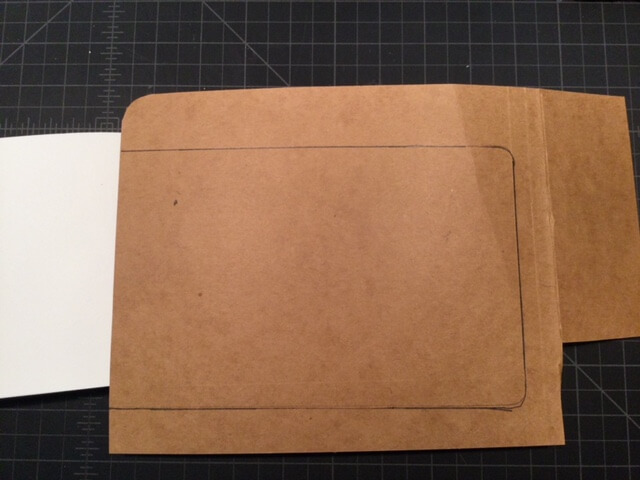
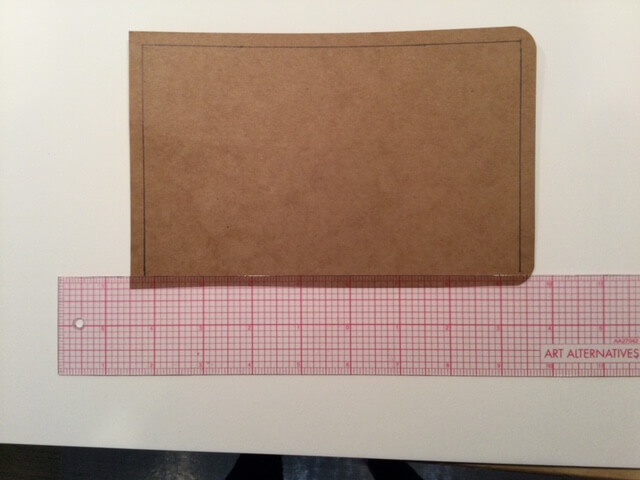
* The Height of each board should be higher than the height of the journal (mine is about 1/2″ but it could be longer depending on how much “stuff” you want to clip on the board) plus an additional 1/2″ for account for overlap. Make a note of the Length.
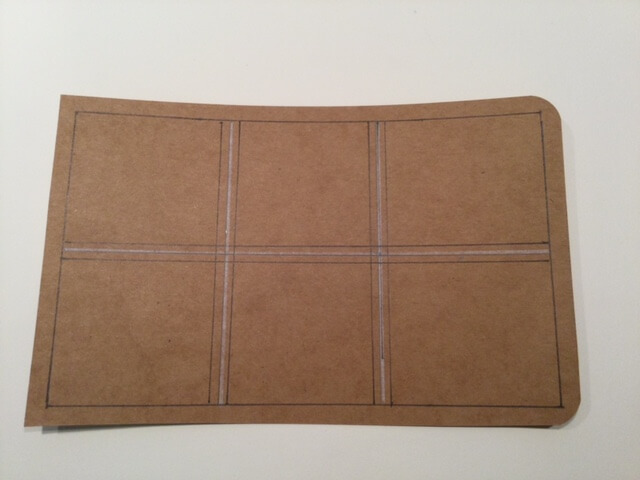
* Cut two boards using your Width and Length.
2. SETUP BOARDS
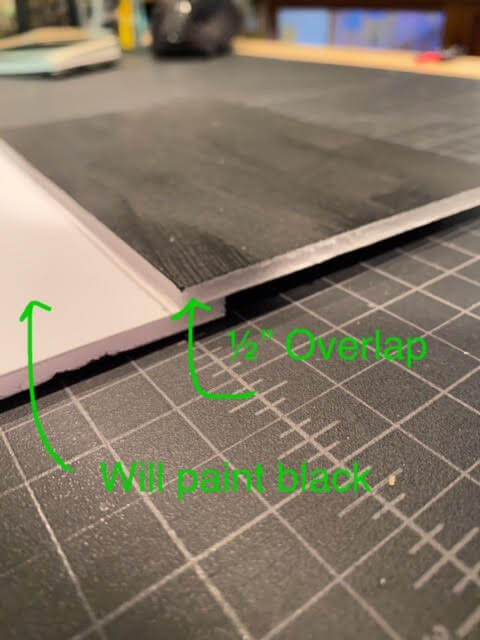
* My boards were white which can create glare outside so I painted one side of mine with black acrylic paint. In the photo below I have painted one board and am about to paint the other.
* The bottom board will fit UNDER the top board. Set up the boards so that they overlap 1/2″.
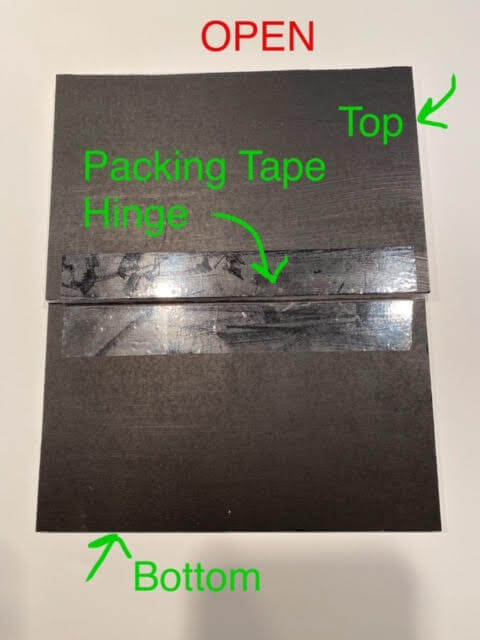
3. TAPE HINGE
* You can use packing tape or duct tape to tape the hinge. You will tape the front and then the back.
* Test the hinge by opening and closing. It should close flat and open flat.
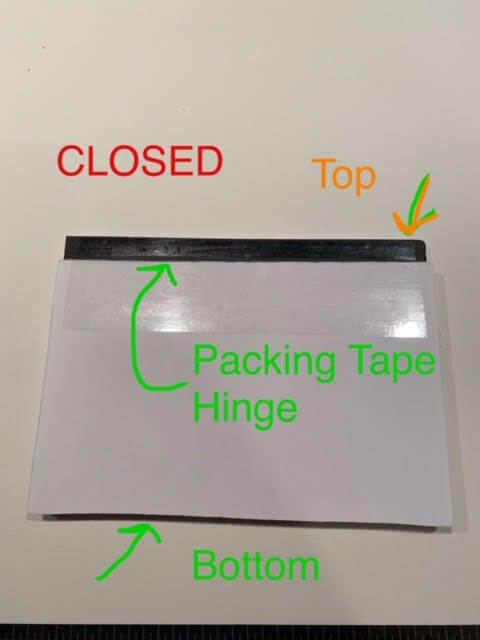
3. TAPE THE BACK
* Close the two boards. The backs of mine are white. You can see the black 1/2″ overlap from the bottom board. When closed the bottoms don’t align.
* Tape the hinge. Don’t worry if it’s a bit wobbly as the clips will hold it in place when open.
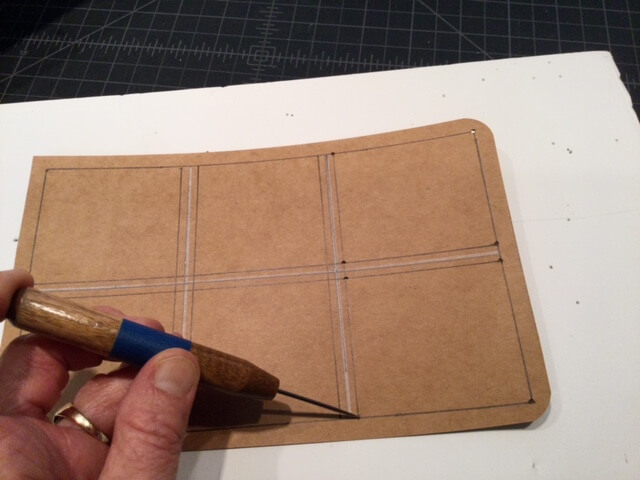
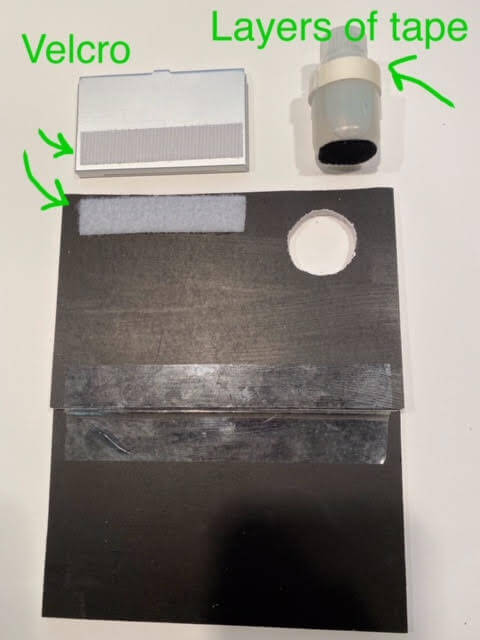
4. ADD ATTACHMENTS & OPENINGS
* I use self-stick heavy duty Velcro from the hardware store. I have black Velcro on the bottom of my one oz. Nalgene water bottle* but felt that the bottle stuck up too high on the board so I cut a hole. I taped around the water bottle so that it wouldn’t fall through the hole. I have learned to use very little water using the “Dip and Flip” method; I clean paint off on a rag before I “DIP” it into the water and I do not swish the brush around in the water but lift it out and “FLIP” into a rag. You might prefer a larger water container.
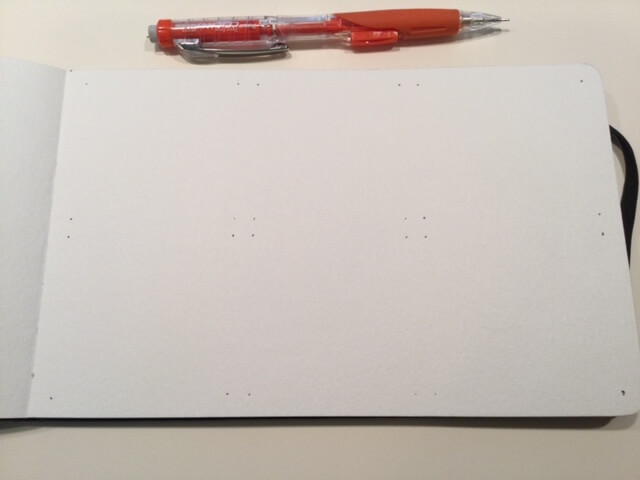
5. FINAL SETUP!
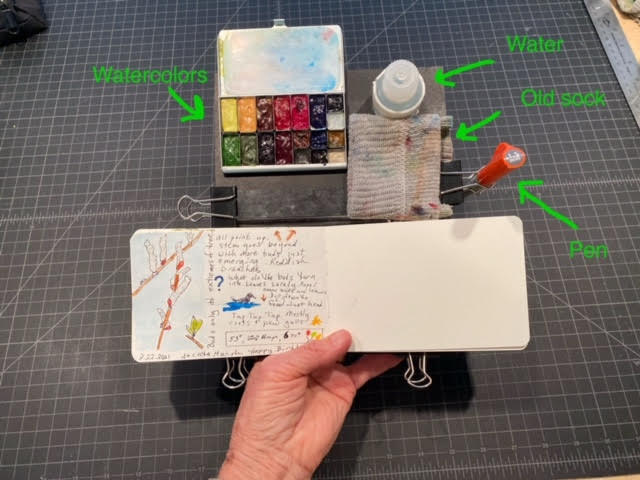
6. OUTSIDE & READY TO JOURNAL
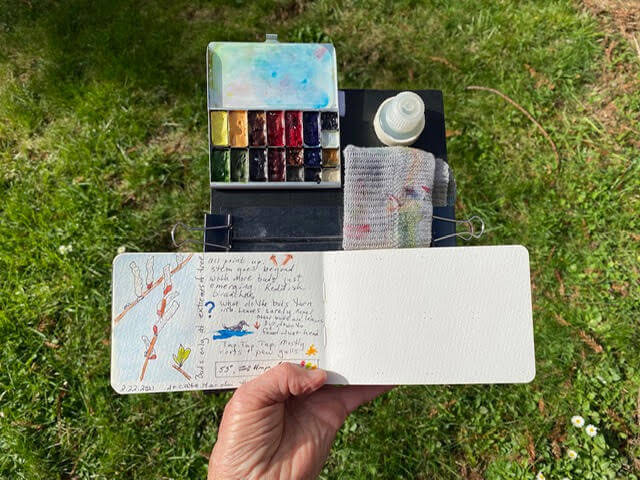
You might try this with any old board to see if you like it before making the folding board. I love mine. Let me know how this works for you!
* The Nalgene bottles will not leak. I also use them to carry ink for my fountain pens. Adventure’s Edge carries them.