Landscapitos
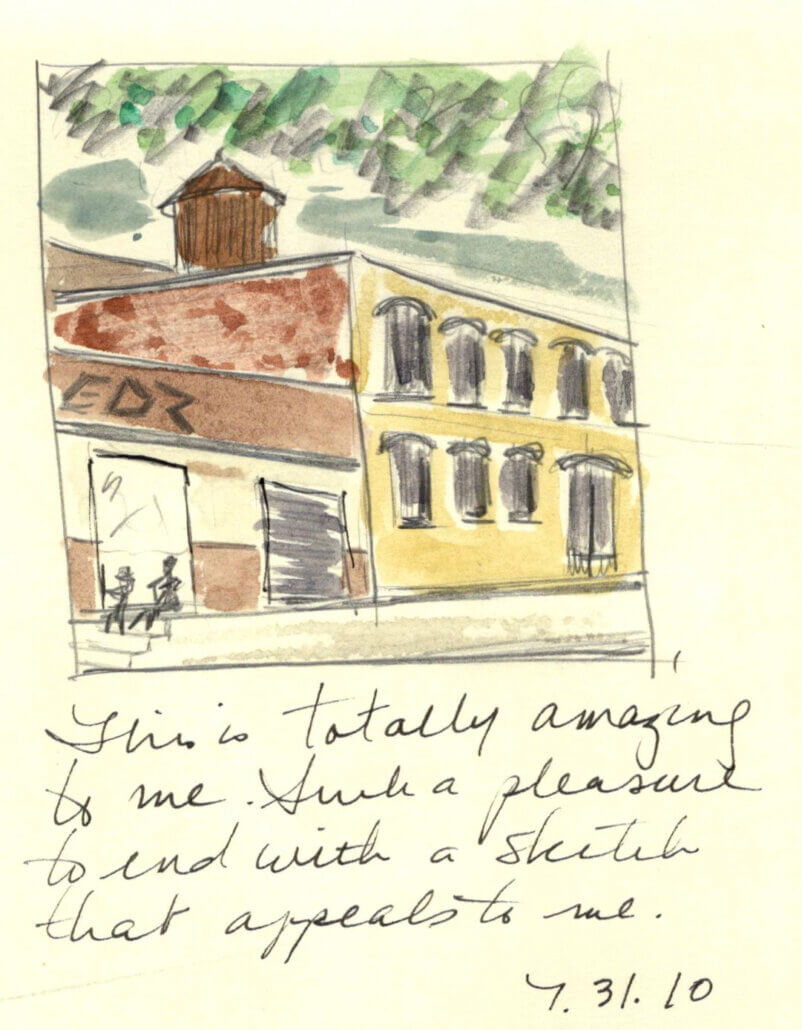
I remember drawing my first landscapito. It was a revelation. In 2010 I participated in several days of an Urban Sketchers Conference in Portland, Oregon. I had taken my first (ever) drawing class the year after I retired and the conference welcomed beginners. That was me. I found myself overwhelmed with too much visual information and unable to decide what to put on the page. On the last day the great sketcher-journalist Gabi Campinario encouraged me to draw a scene in a small box instead of using the entire page. Amazing. That small (2″x 2″) drawing taught me that, yes, I could draw if only I had to eliminate a lot of details and just see the basic structures. It was fun and far less threatening.
Portland, Oregon (2″ x 2″)
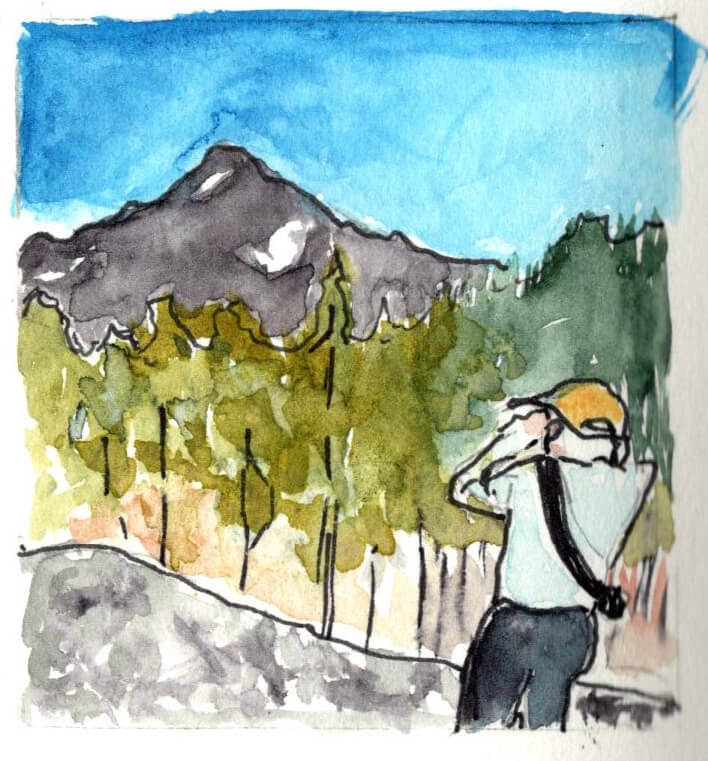
Landscapitos should be smaller than 5″ x 7″. Mine are generally about 3″ x 3″. I draw the rectangle first and use the sides to mark important intersections. The following series of images show steps in the process: 1) Compose scene – in this case with camera 2) Determine foreground, middle ground, and background 3) Draw
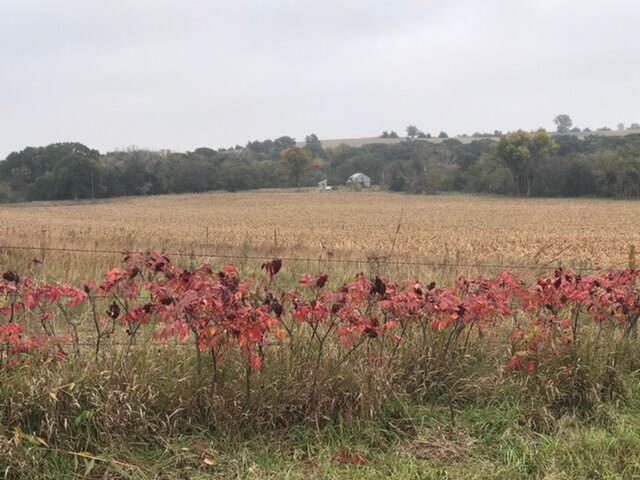
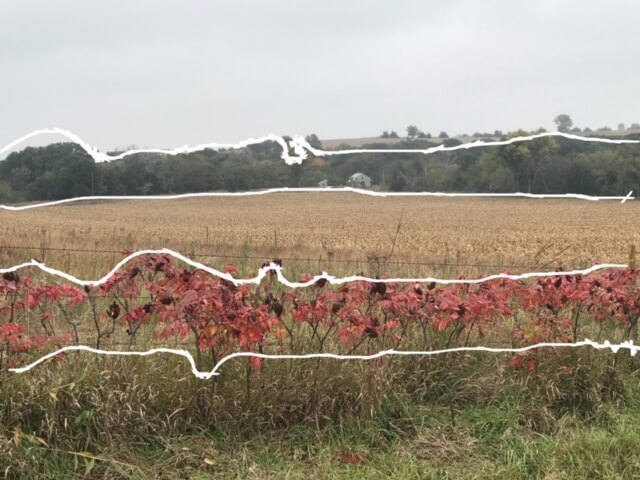
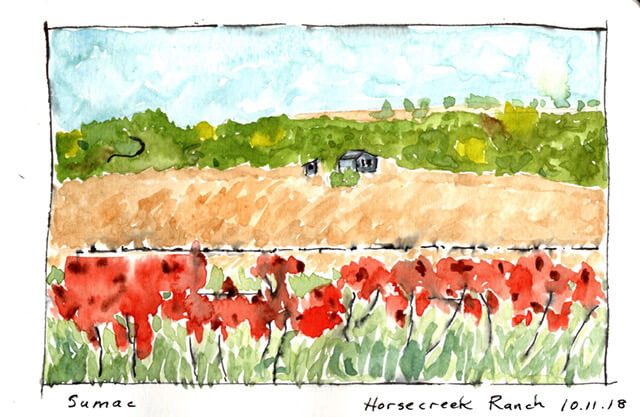 In nature journaling landscapitos have a number of advantages. They can be drawn and painted quickly enabling you to keep up with your hiking buddies. They document places that captured your attention and build memories of the experience – your mind will fill in the rest of the details. In general try to include 3 regions with darker regions in the foreground and the lightest in the background. Marley Peifer provides instruction and a video if you want to explore!
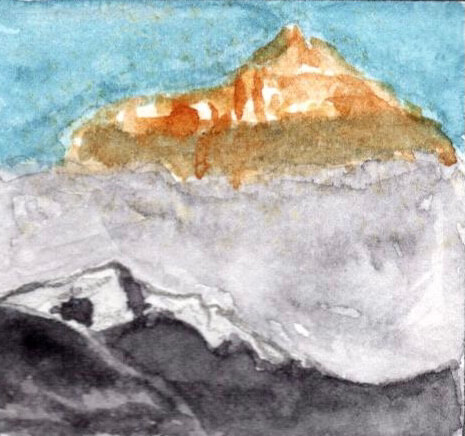
Mt. Everest (1.5″ x 1.5″)
Troncones, Mexico (3″ x 3″)
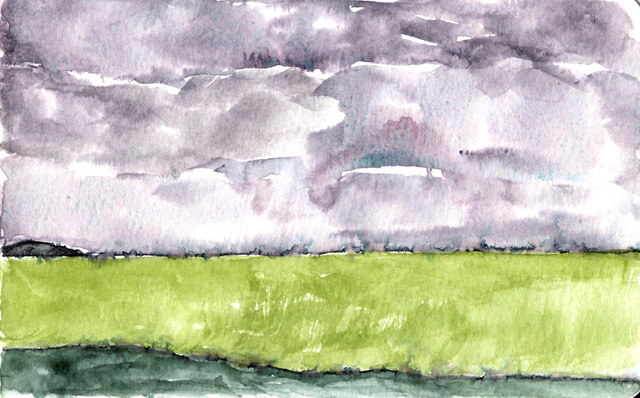
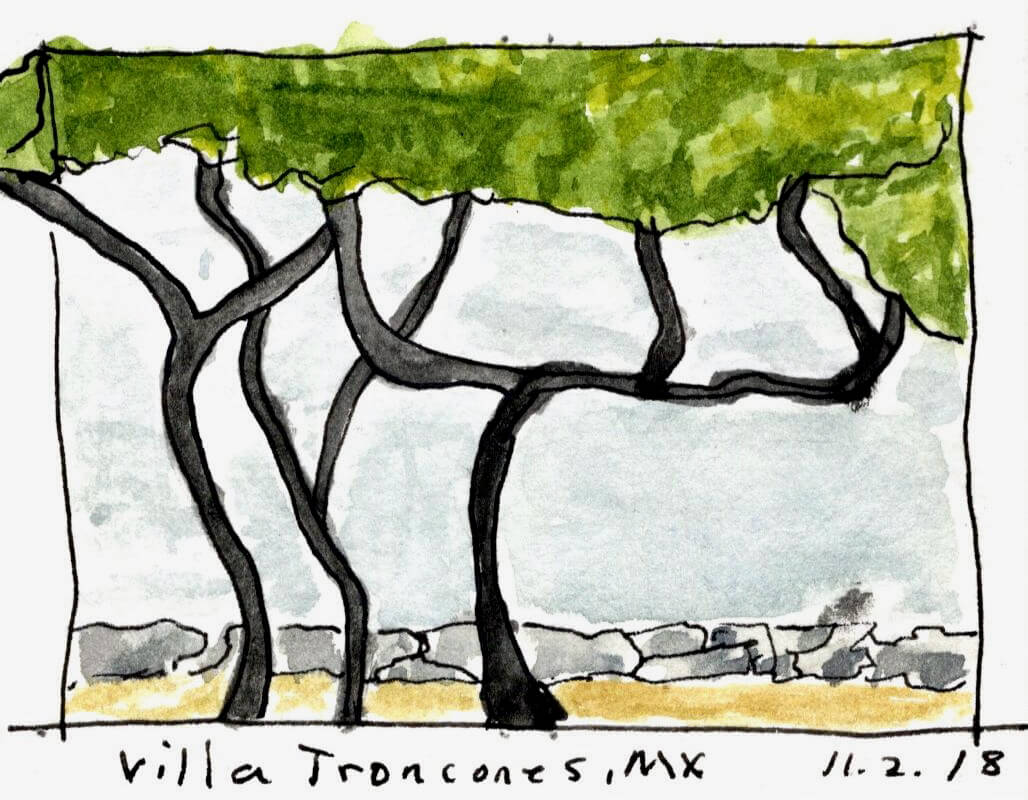 Gobi Desert, Mongolia (5″ x 7″)
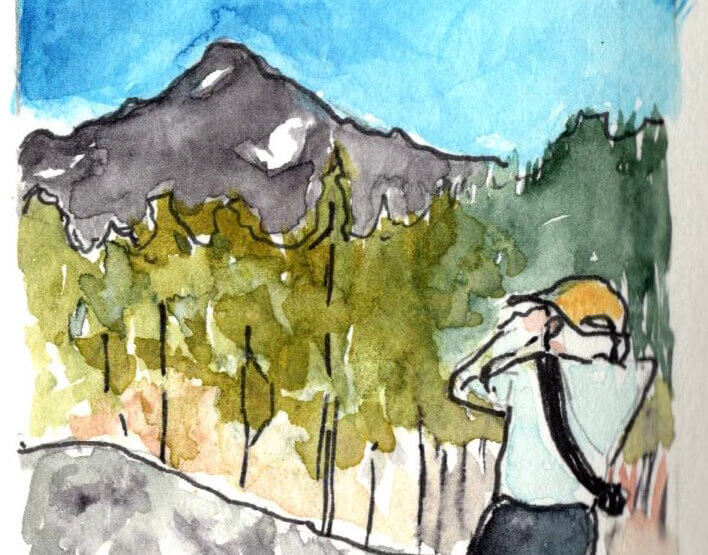
Mt. Lassic, California (2″ x 2″)



Leave a Reply
Want to join the discussion?Feel free to contribute!