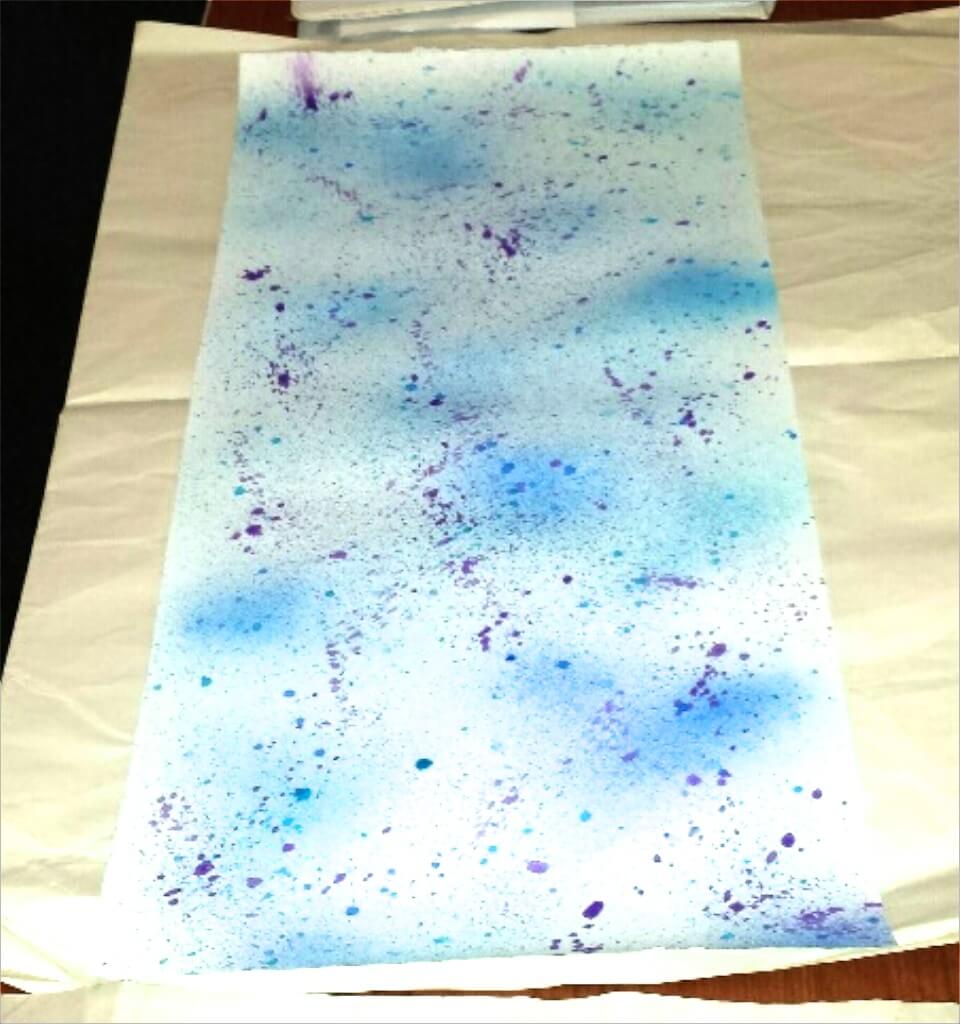
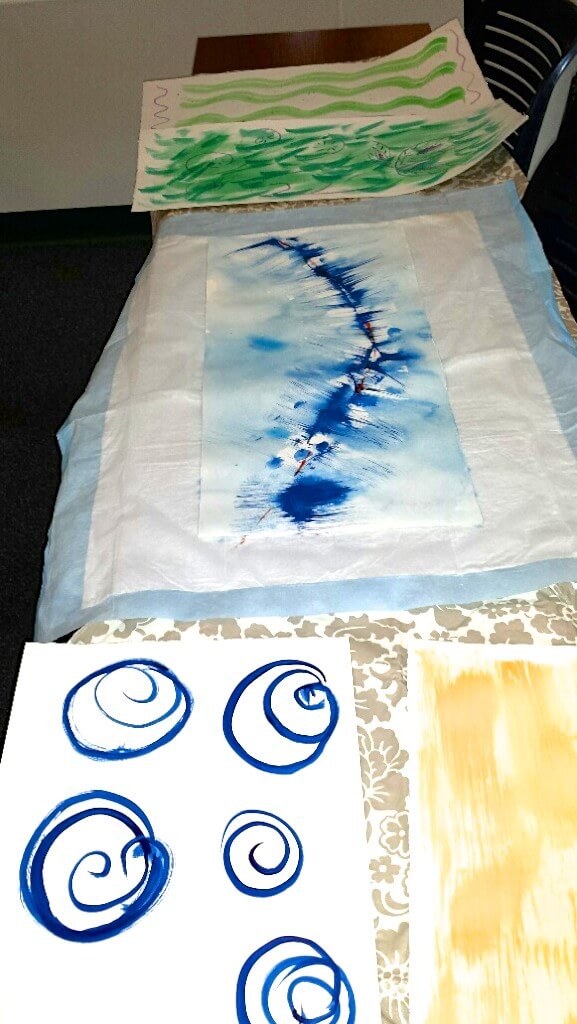
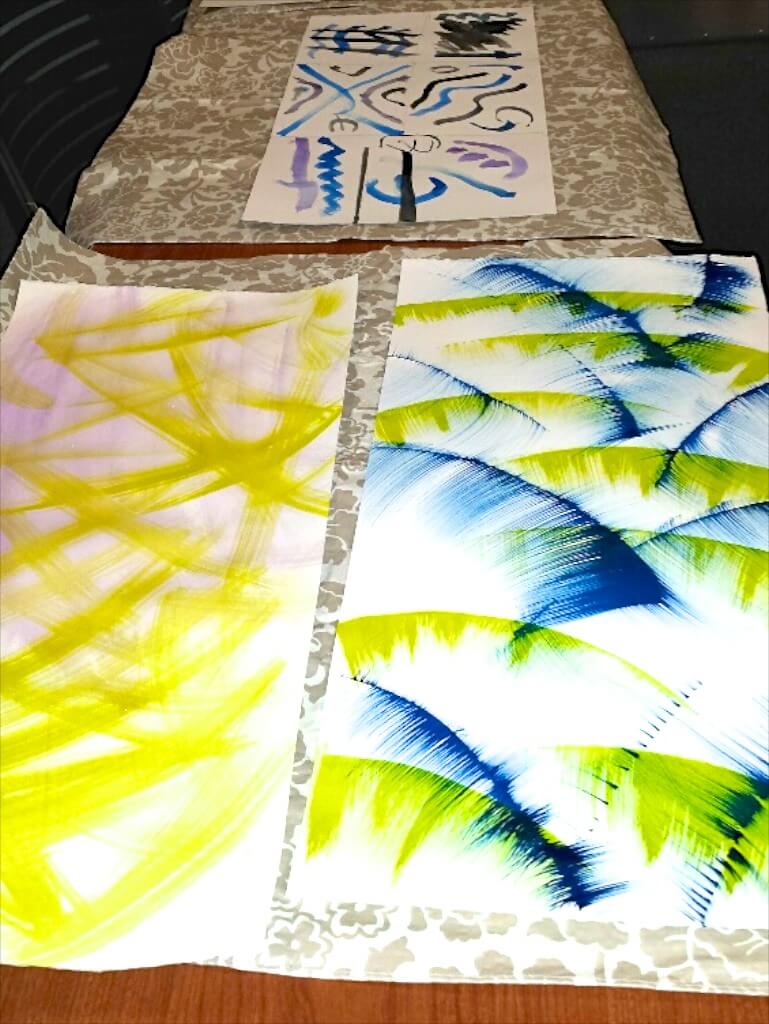
I love making books; teaching others to do the same is just icing on the cake. It is inspiring to be in the same room with creative, capable, and enthusiastic students. The following photos will illustrate some of the work that went into making this type of book as well many of the ideas that students contributed. Enjoy.
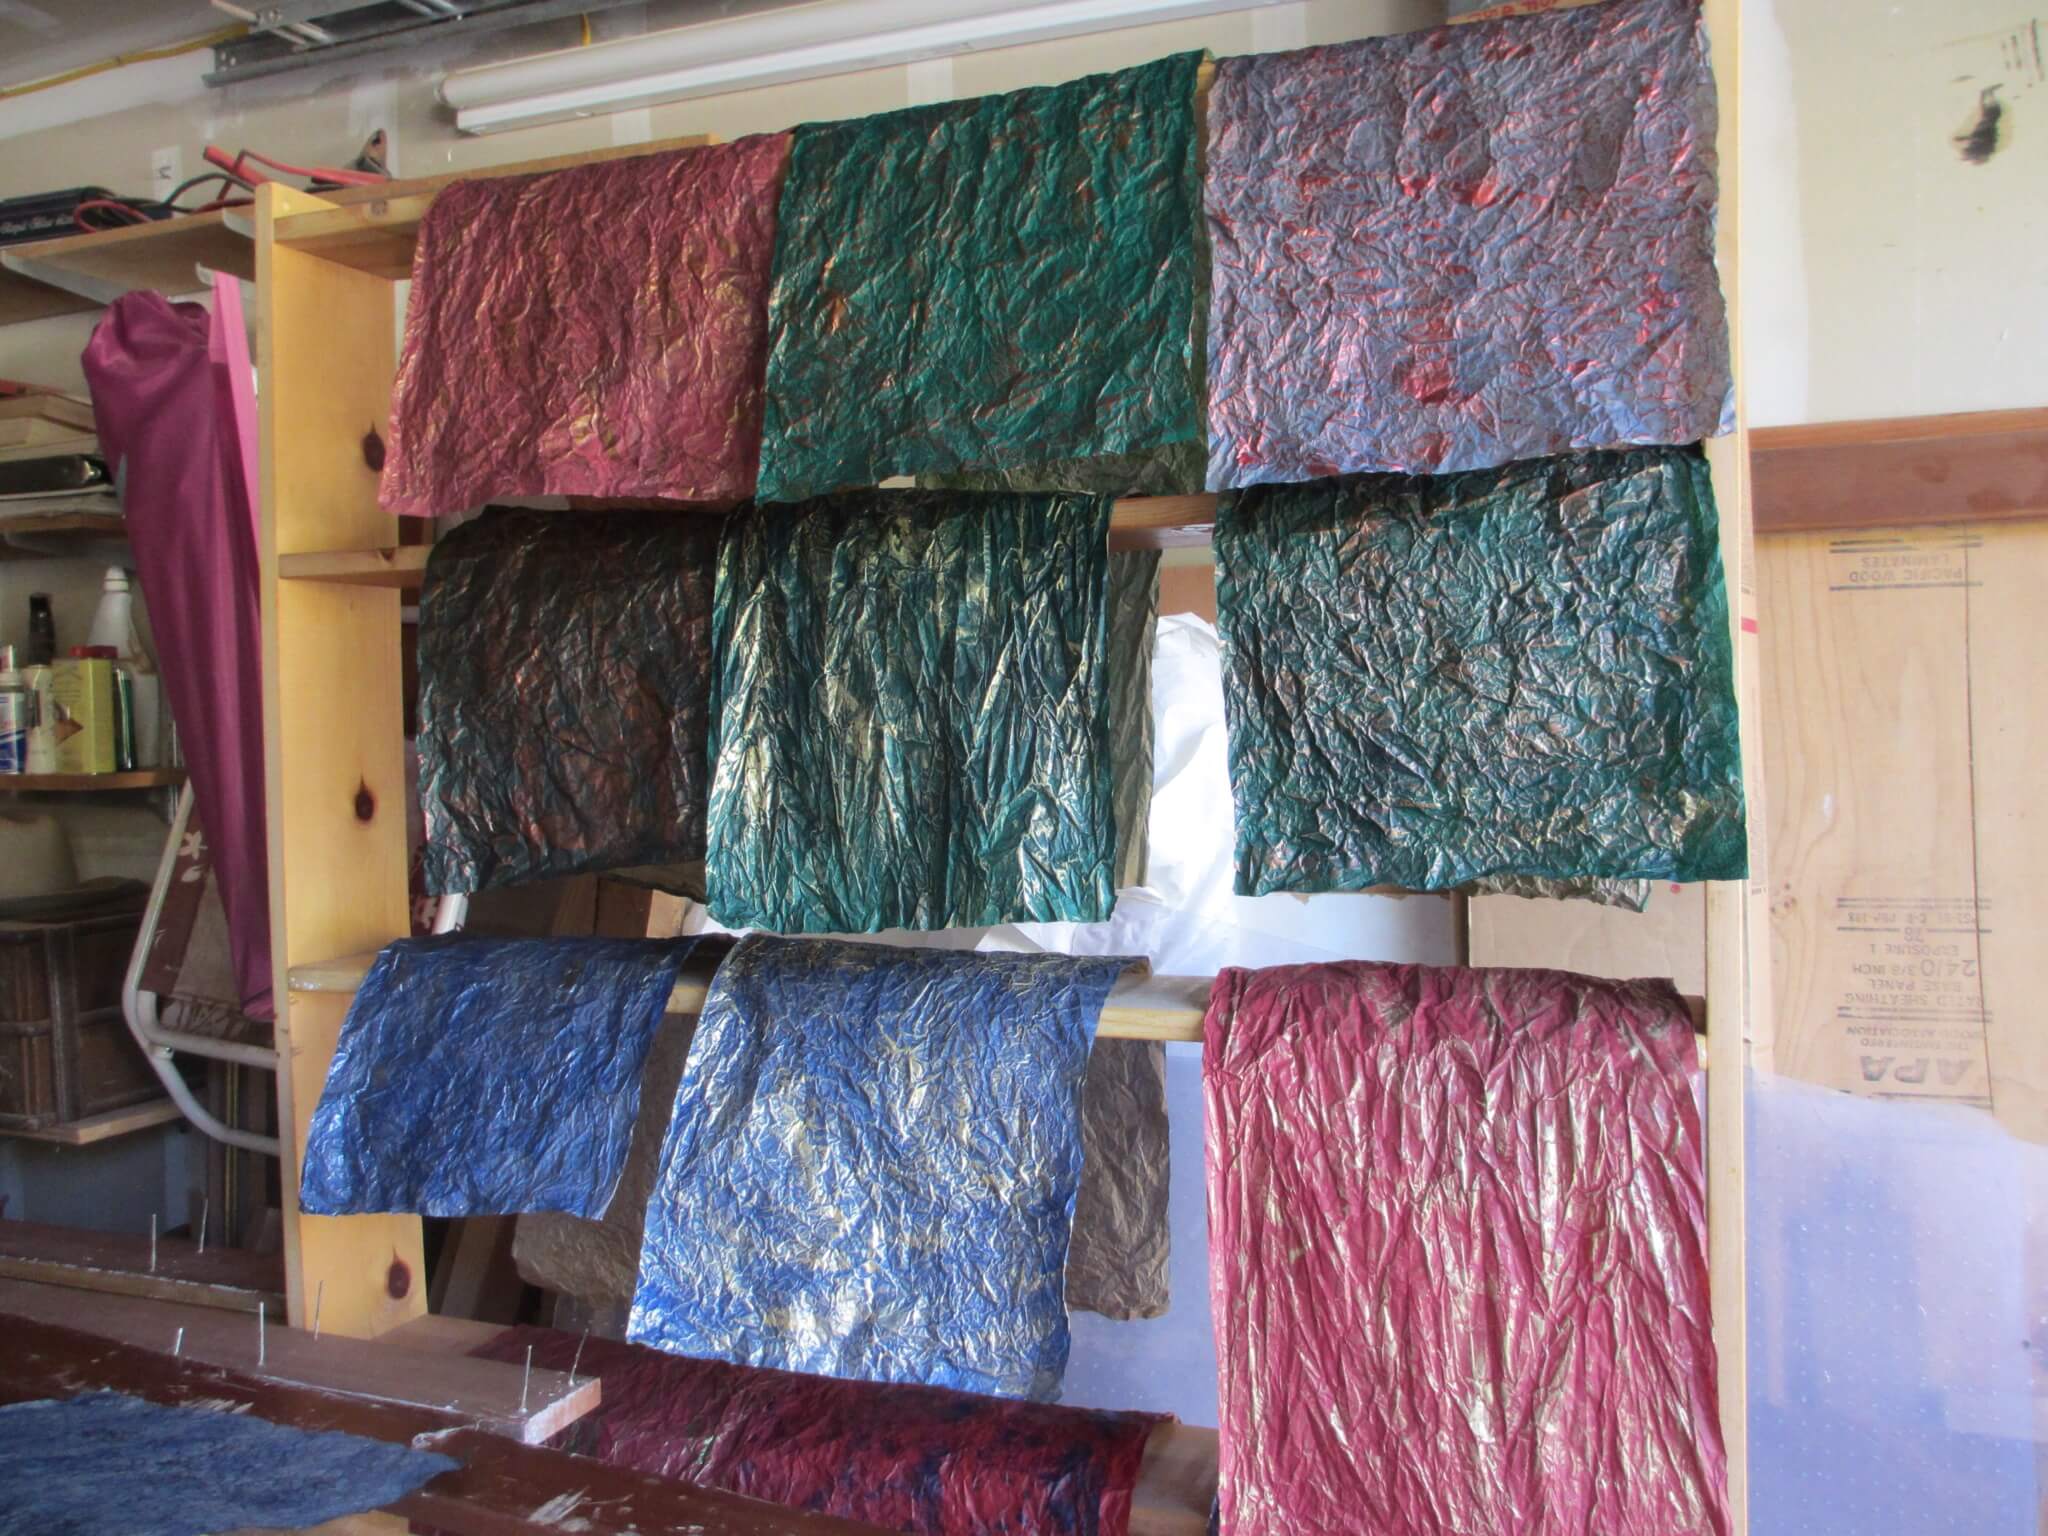
These are papers I created out of masking paper (used for taping windows in preparation for painting) and acrylic paint. The paper perfect for covering boxes as it’s thin, pliable, and fairly strong.
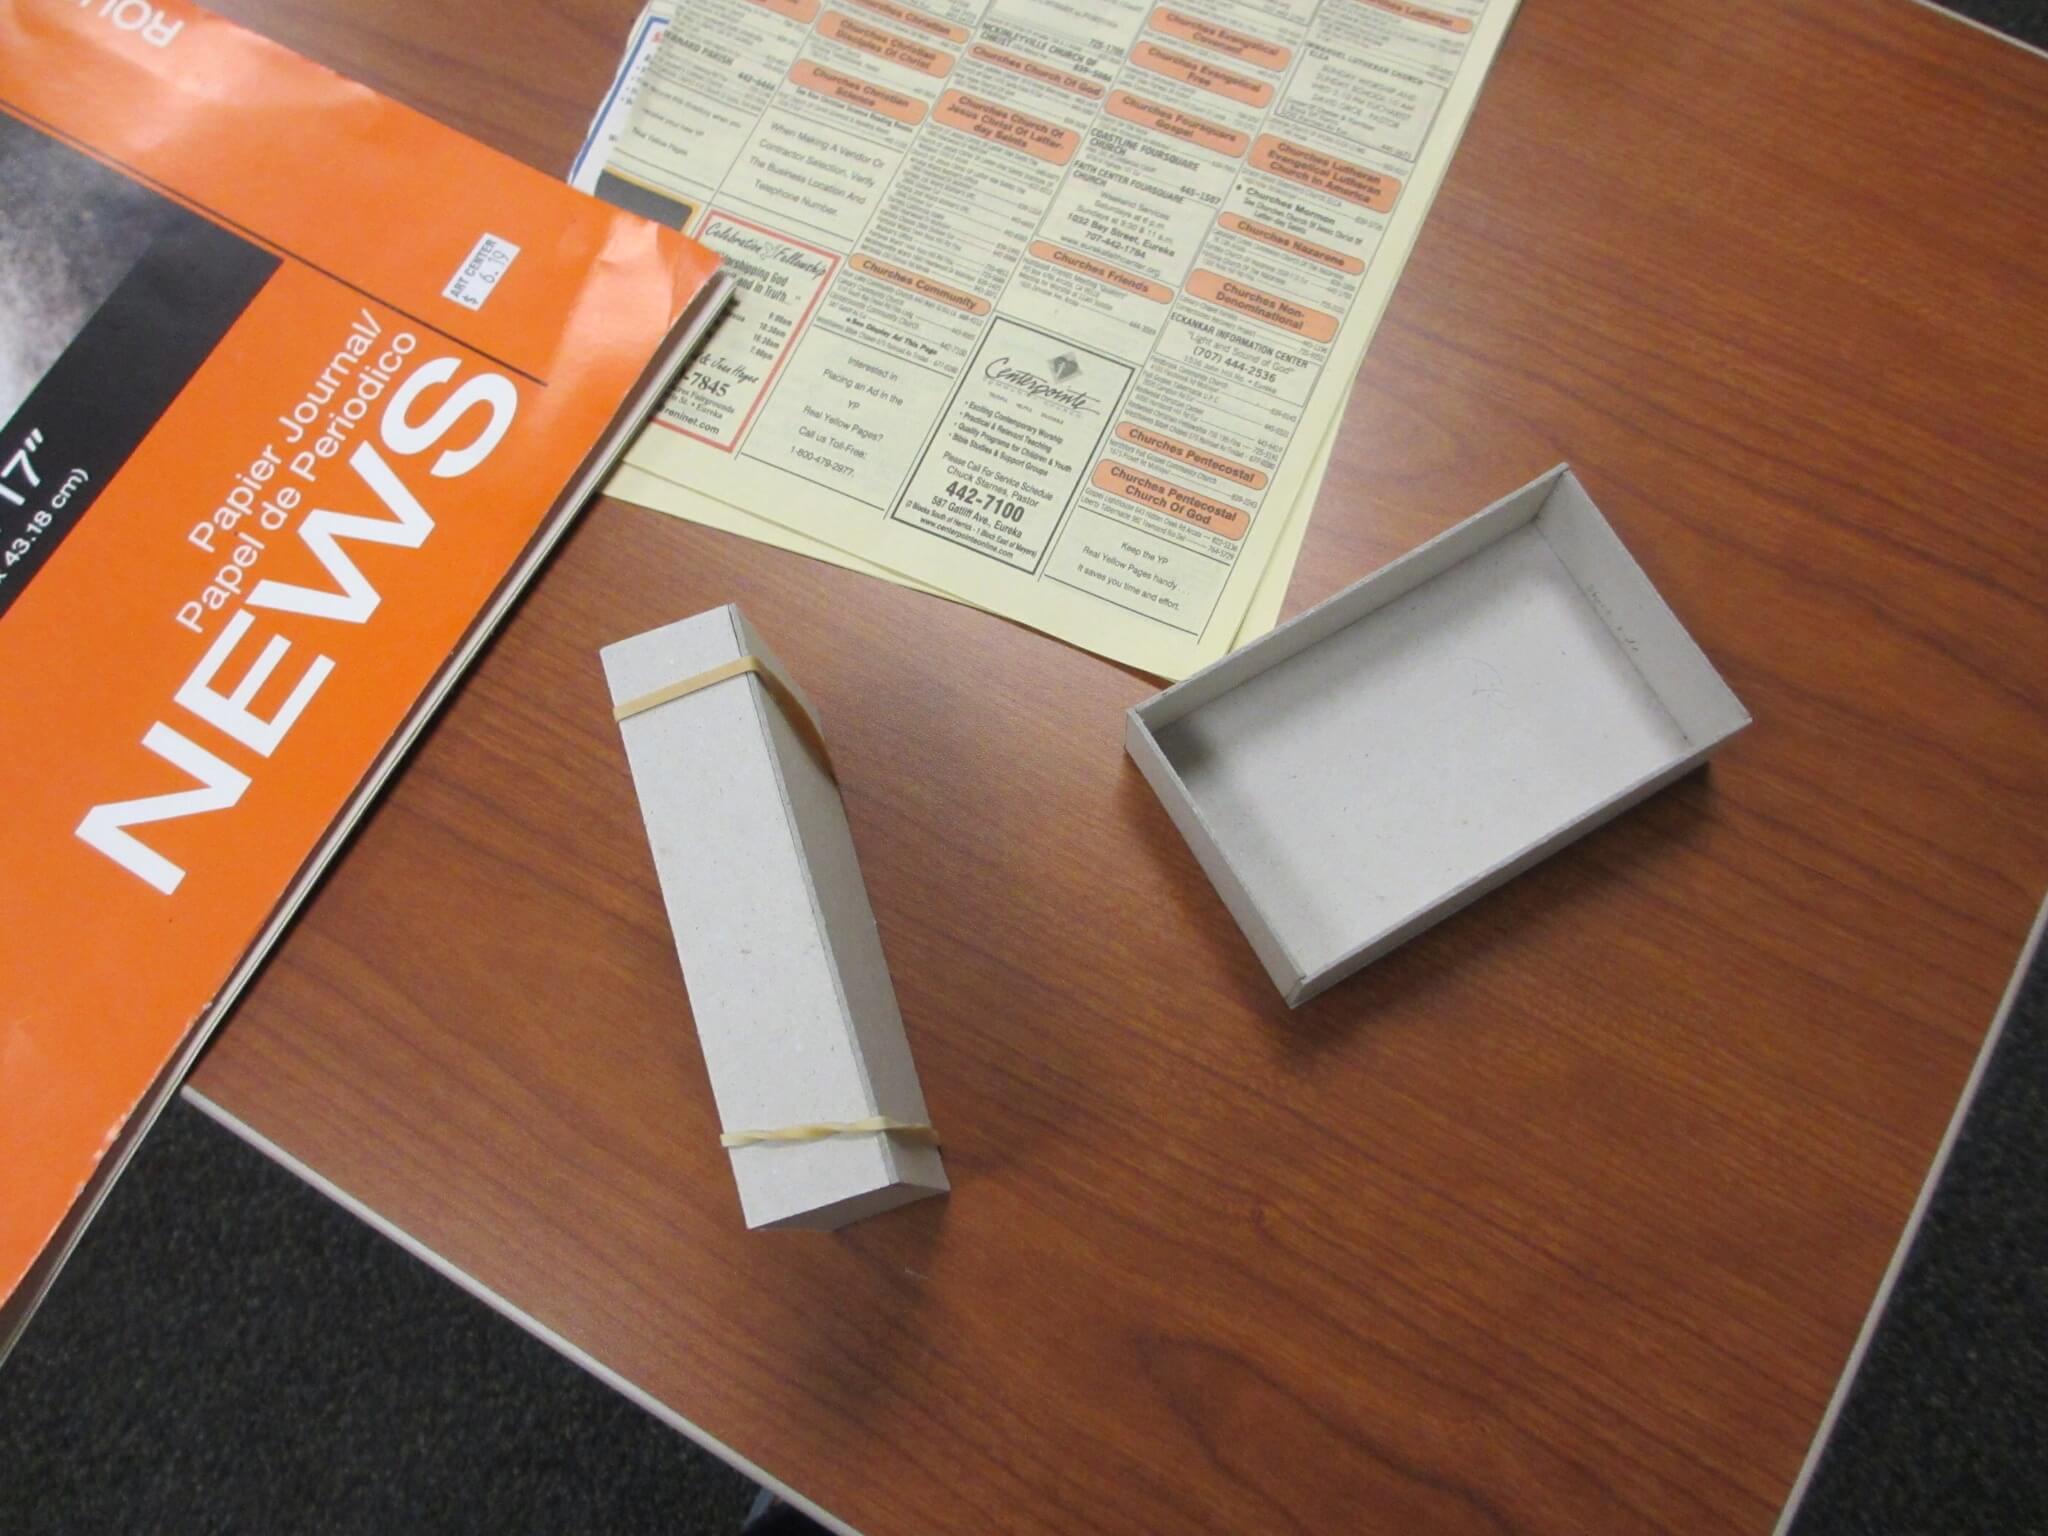
We used 0.059″ thick standard book board to create a box and the hinged cover. We experimented with PVA Jade-Thick from Hollanders. It was great for these small boxes because it is very tacky.

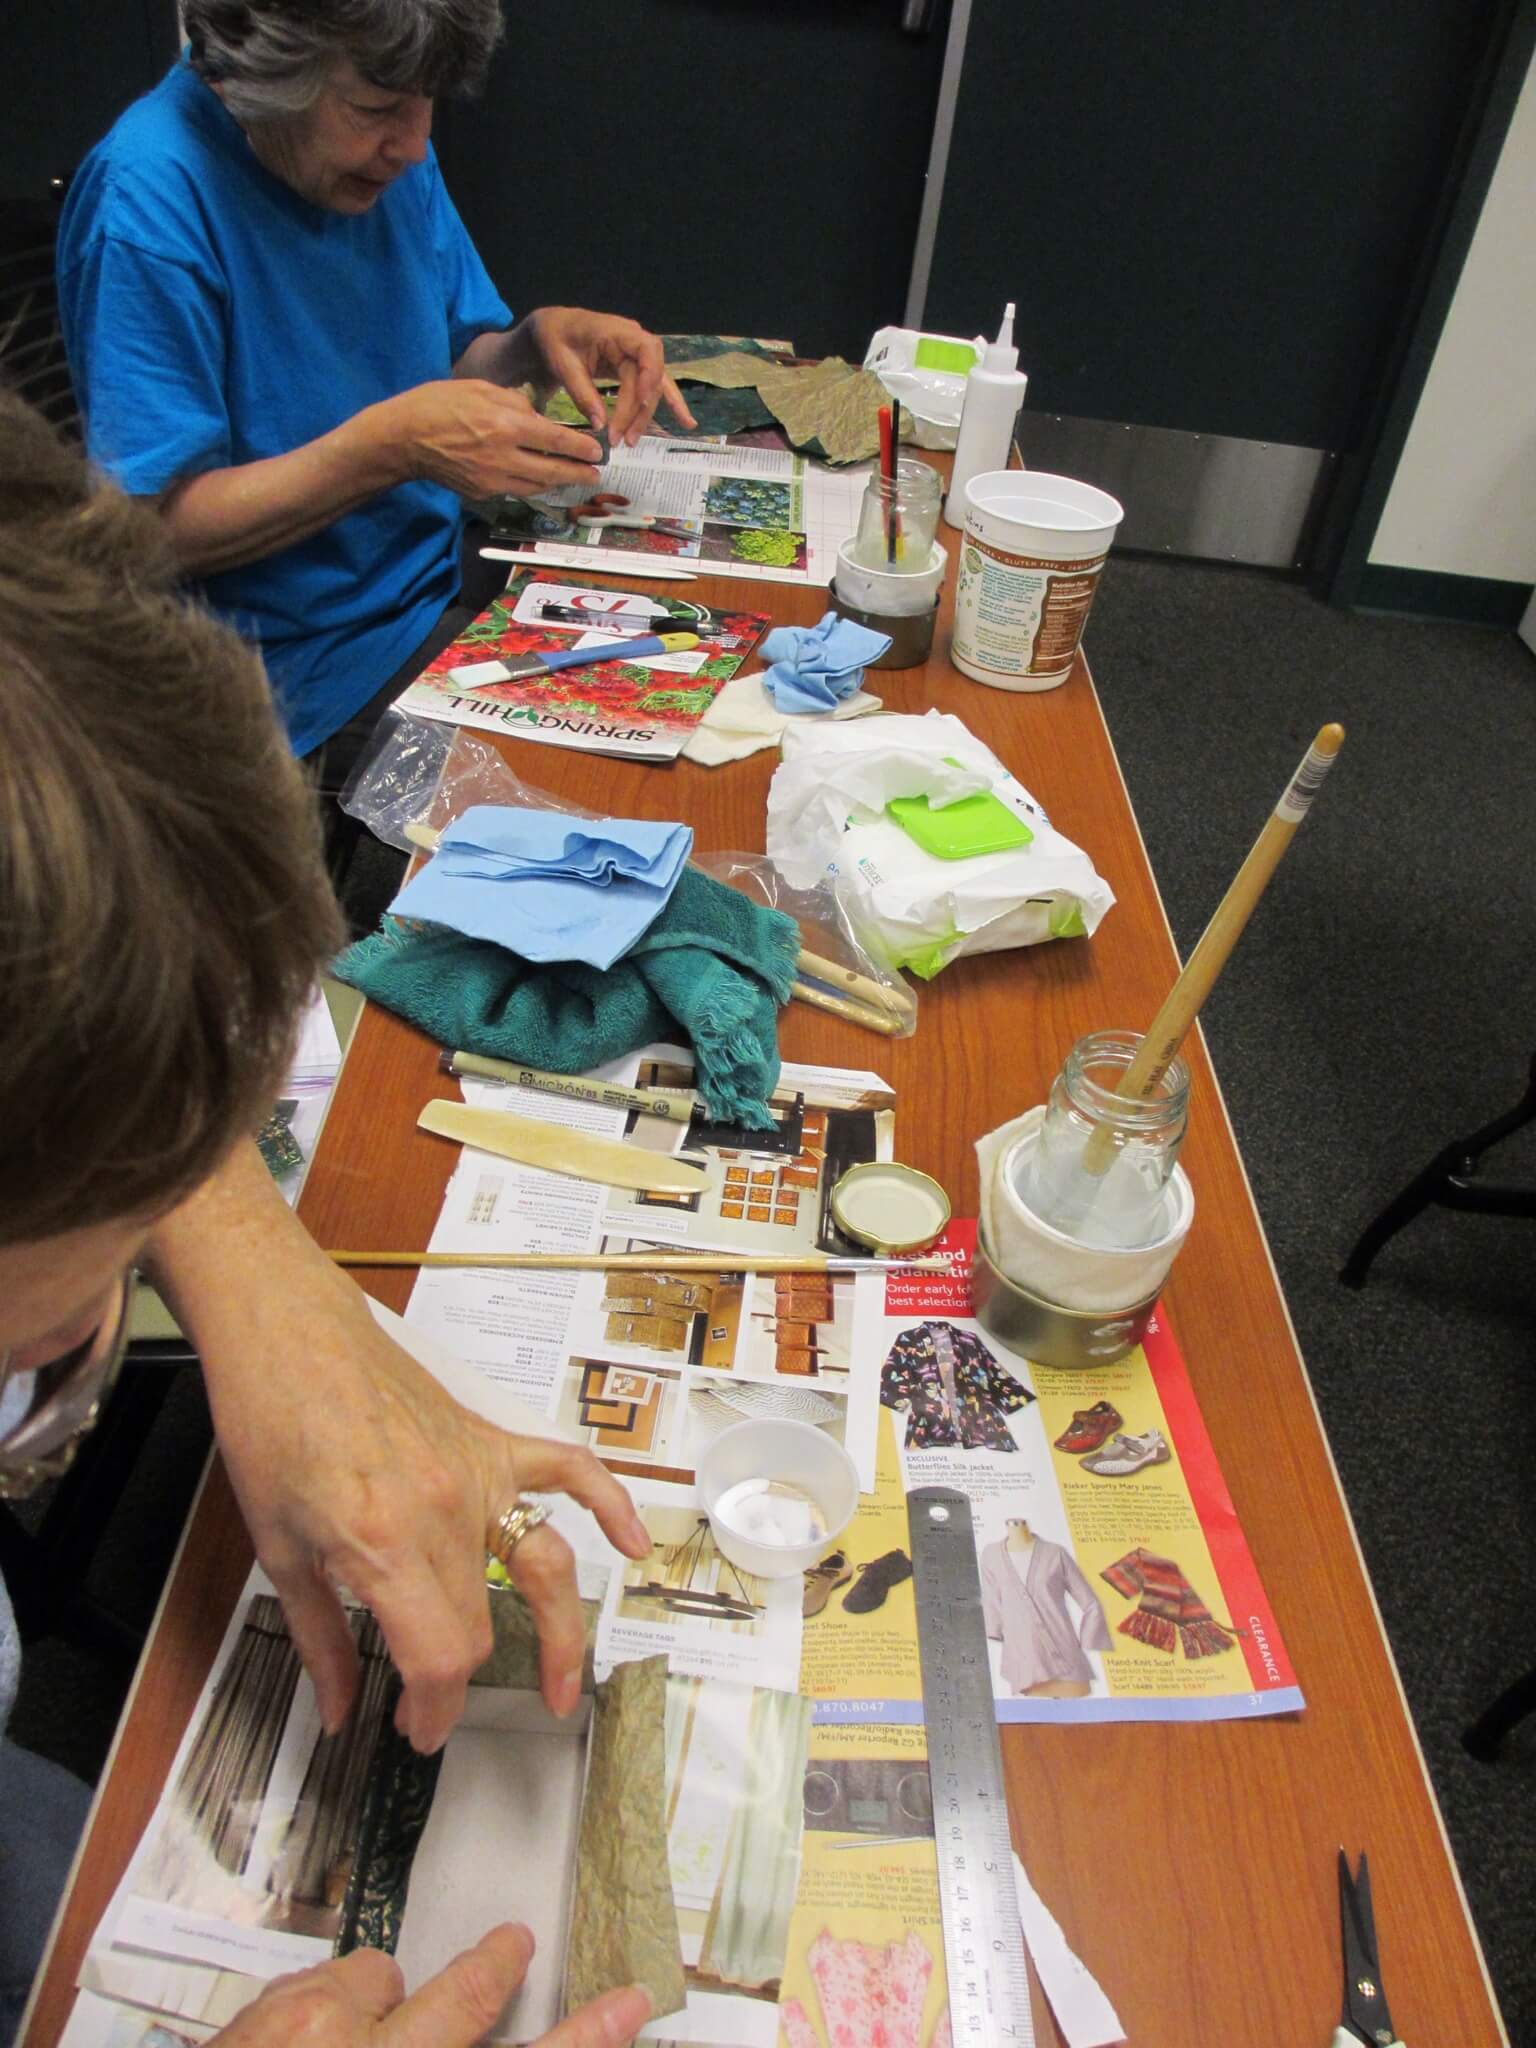
While the boxes dried we created a hinged cover. This particular technique is useful for all kinds of artist books. Boards were glued then applied to the wrong side of the paper. Rather than burnishing the right side we pressed the paper to the board to encourage wrinkles and texture.
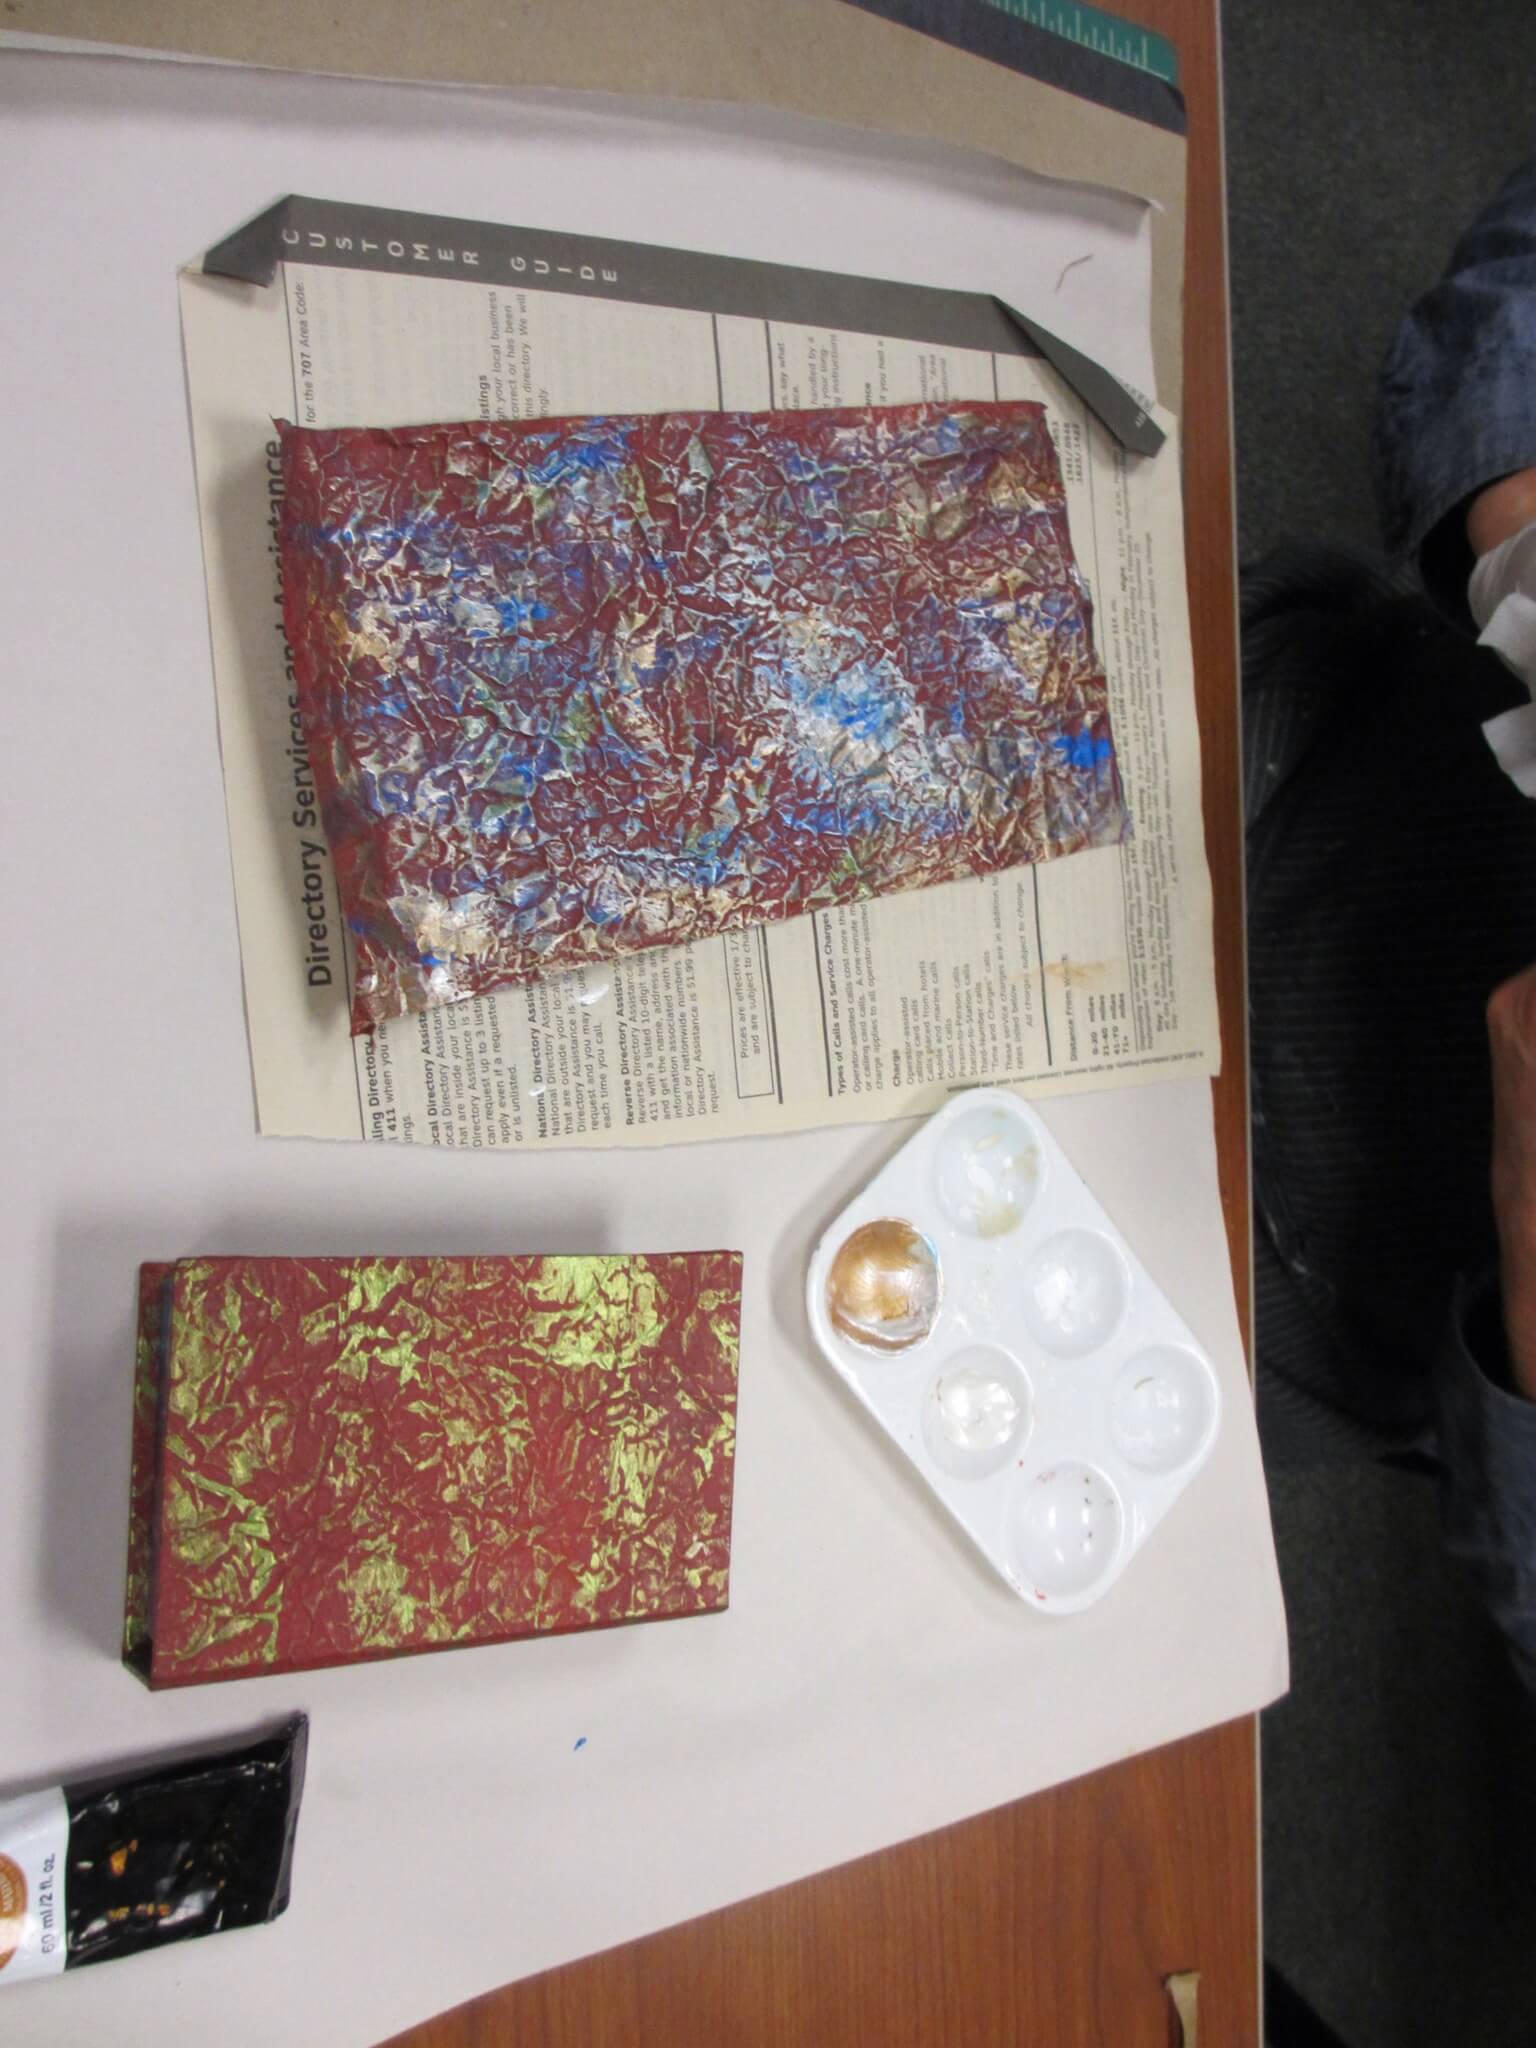
There was much variation in colors. Some decided to add more color and brought their acrylics…….
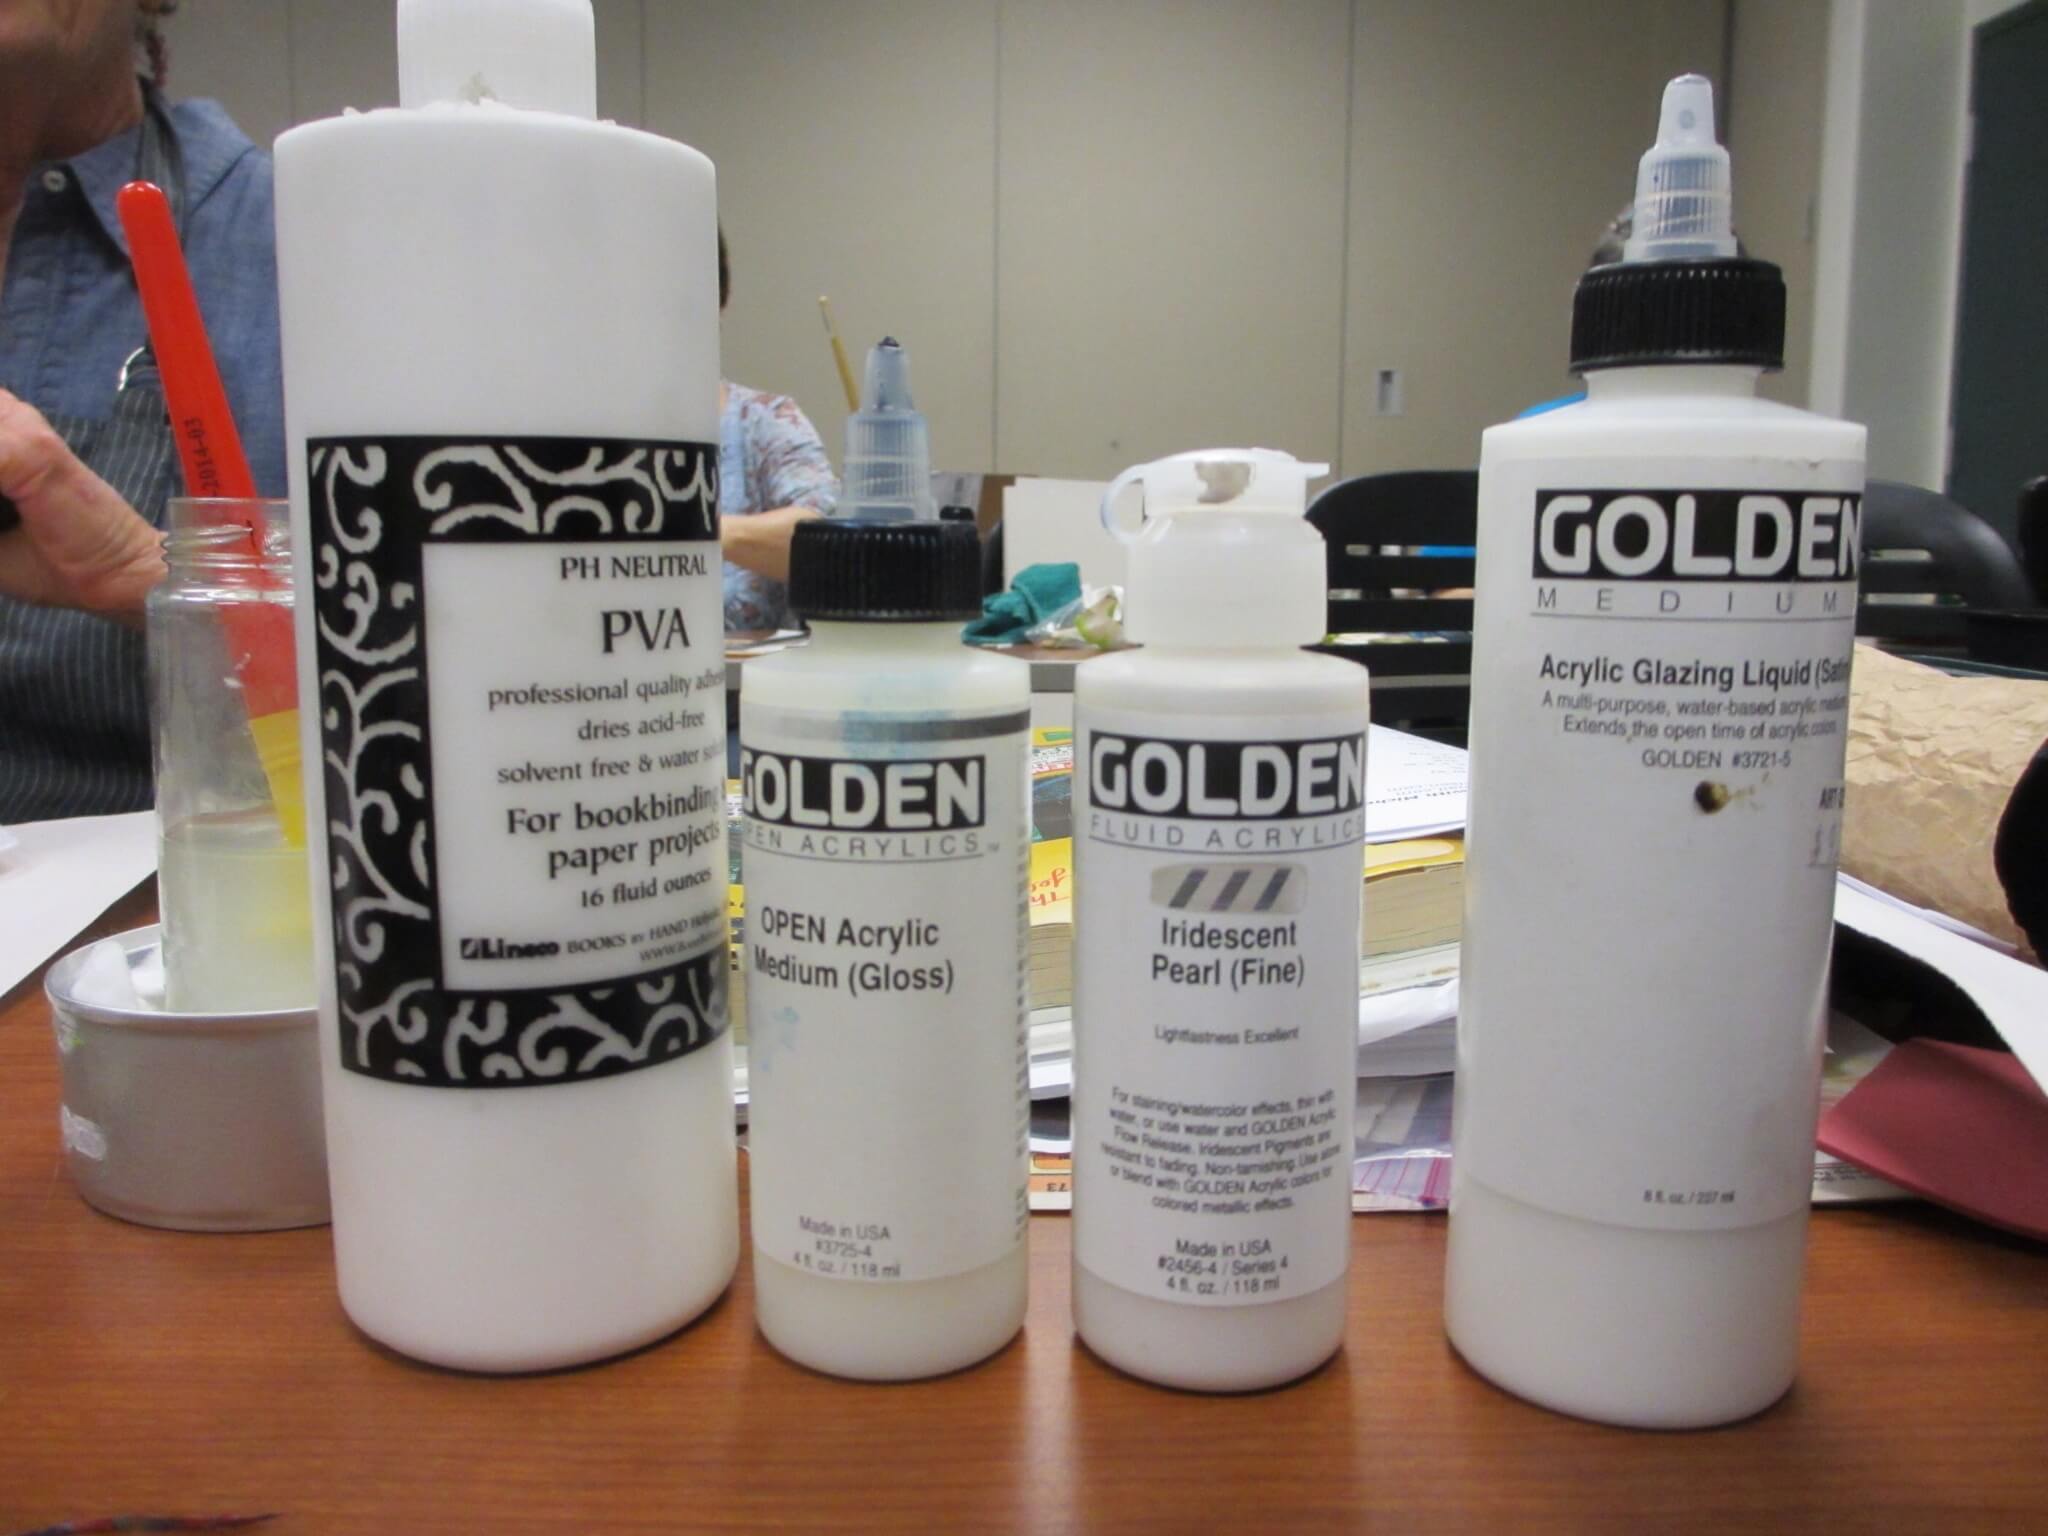
…..and acrylic enhancements. Check out “Products” on Golden’s website to see the many products available along with their uses.

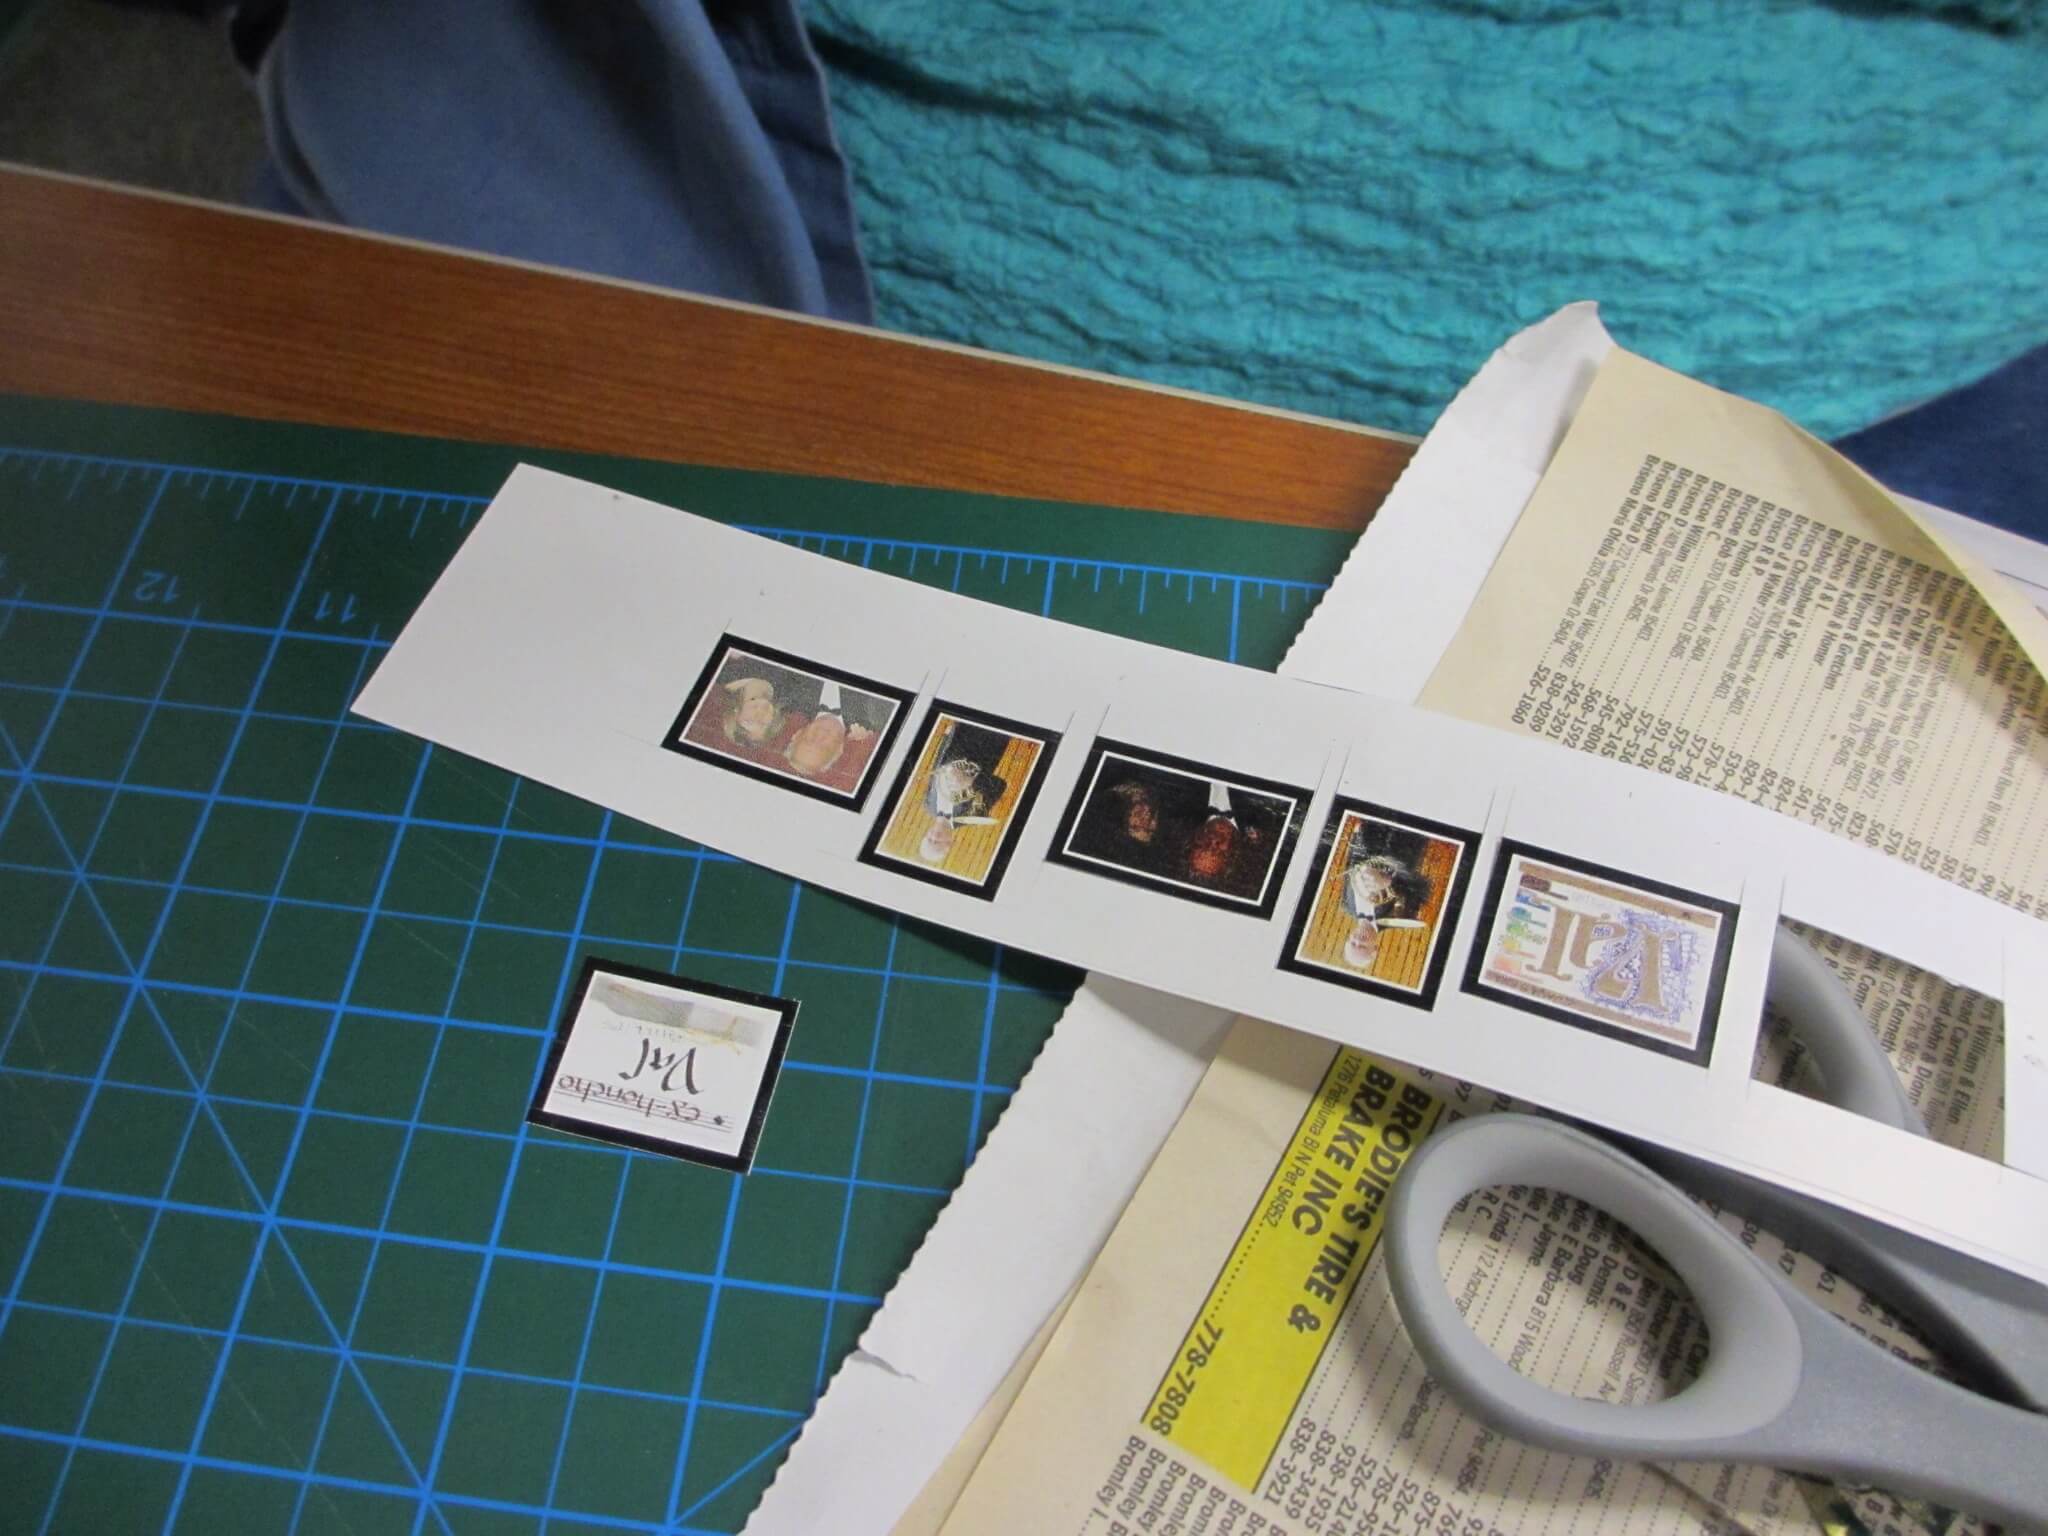
Then the real fun begins—getting ready to add our own miniature components to the book.
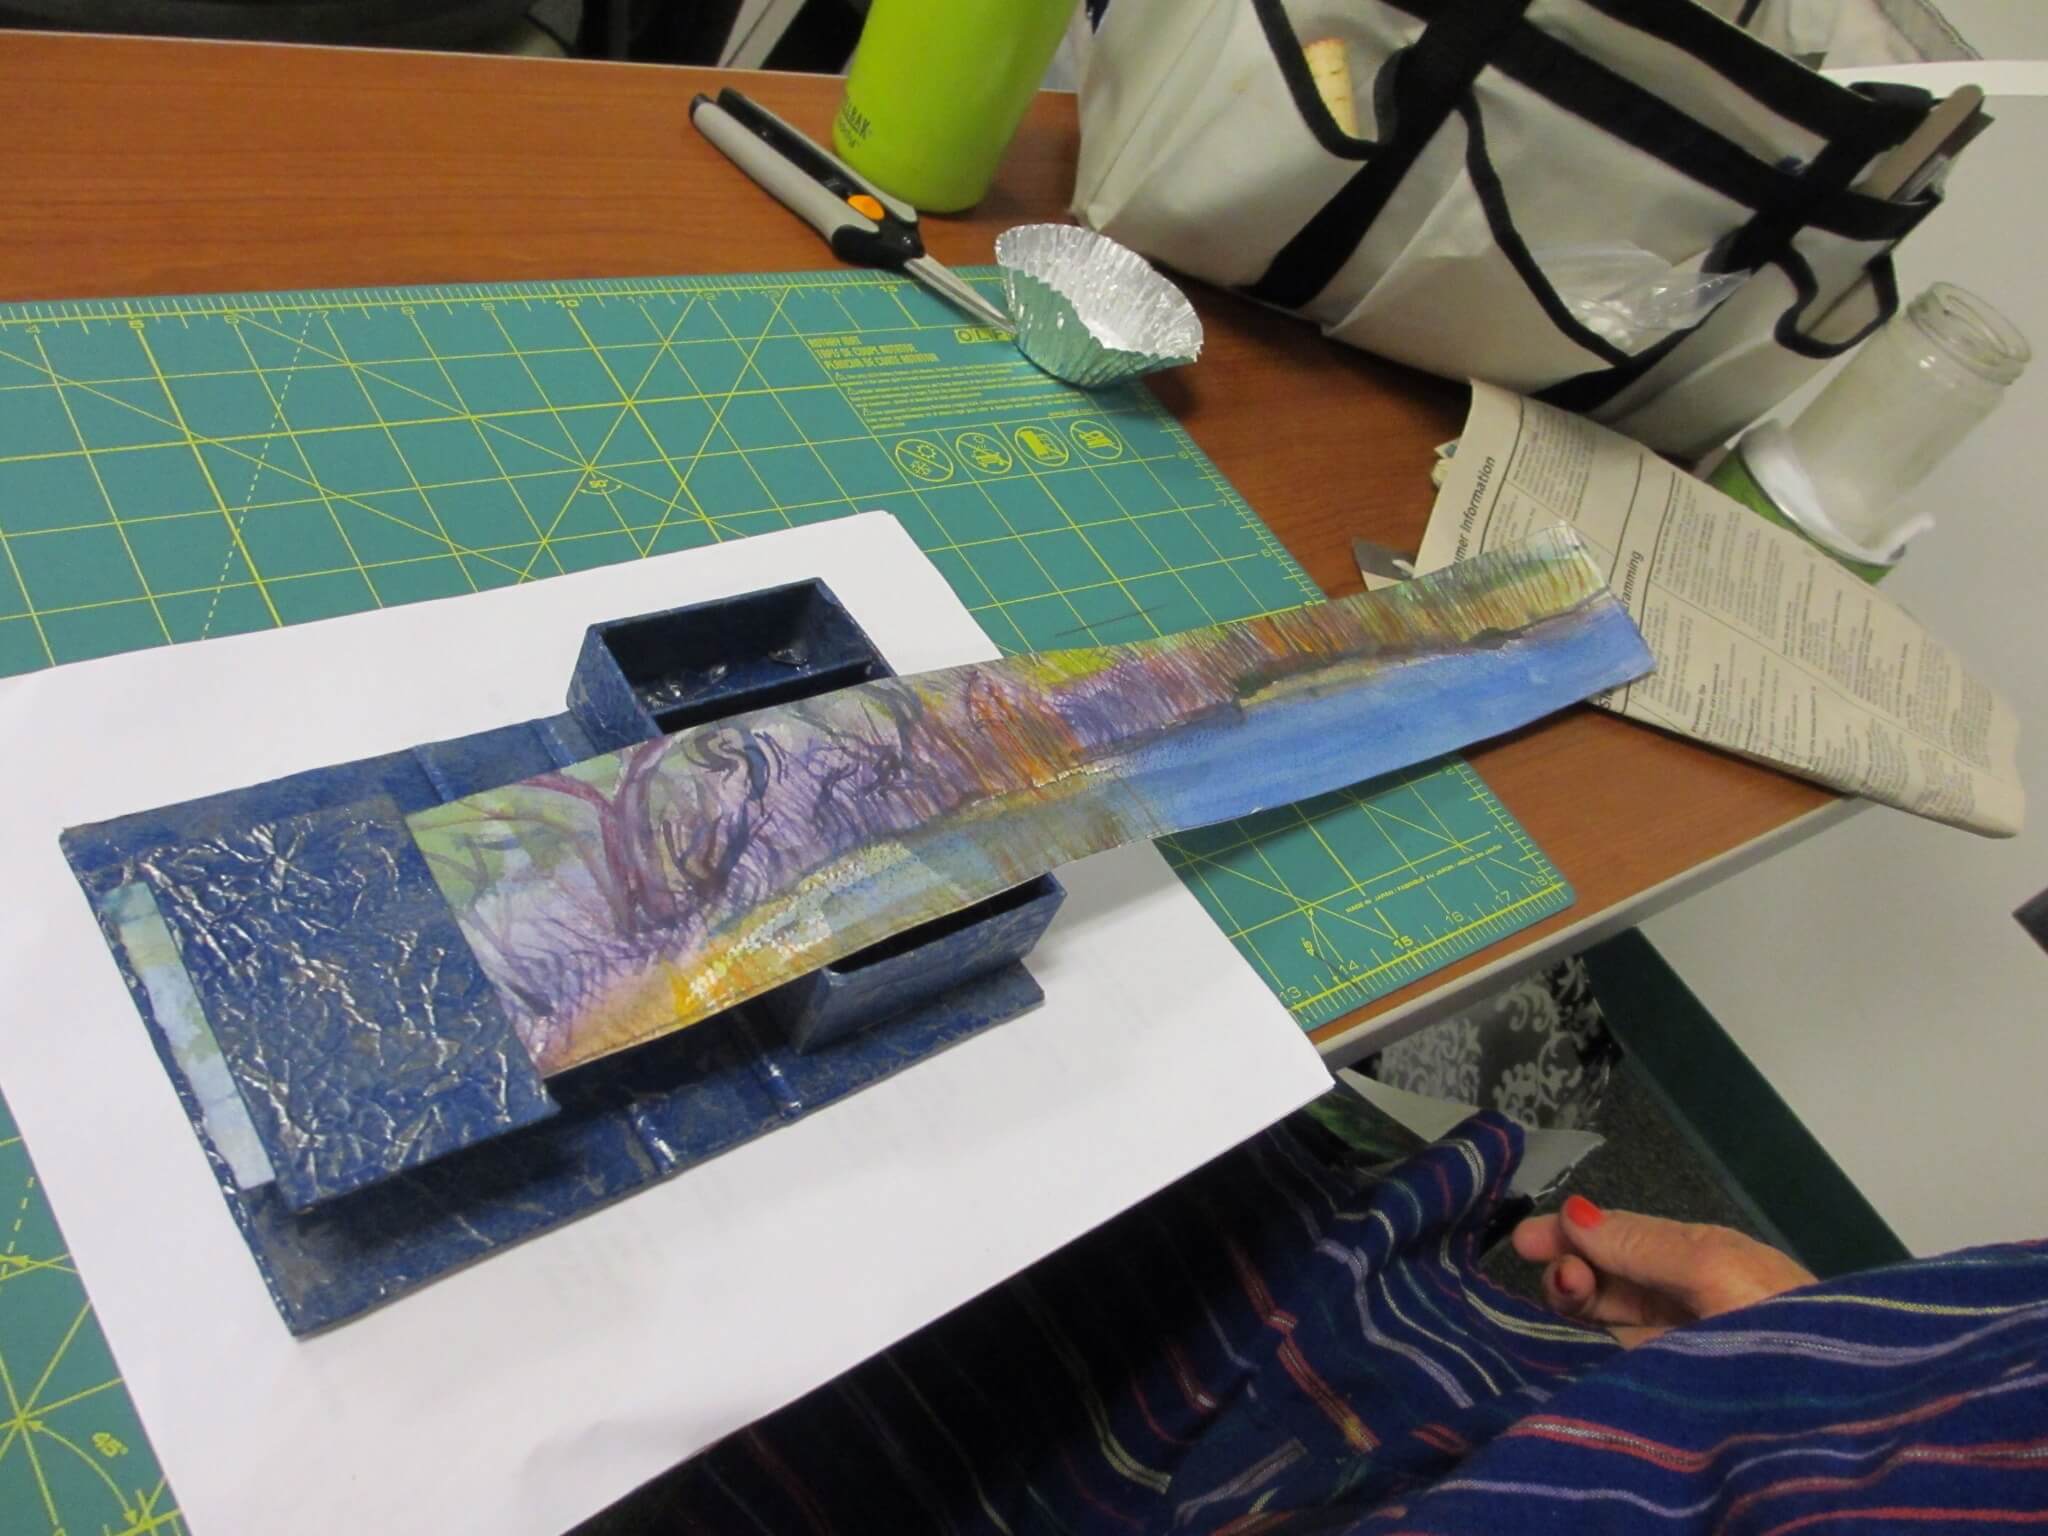
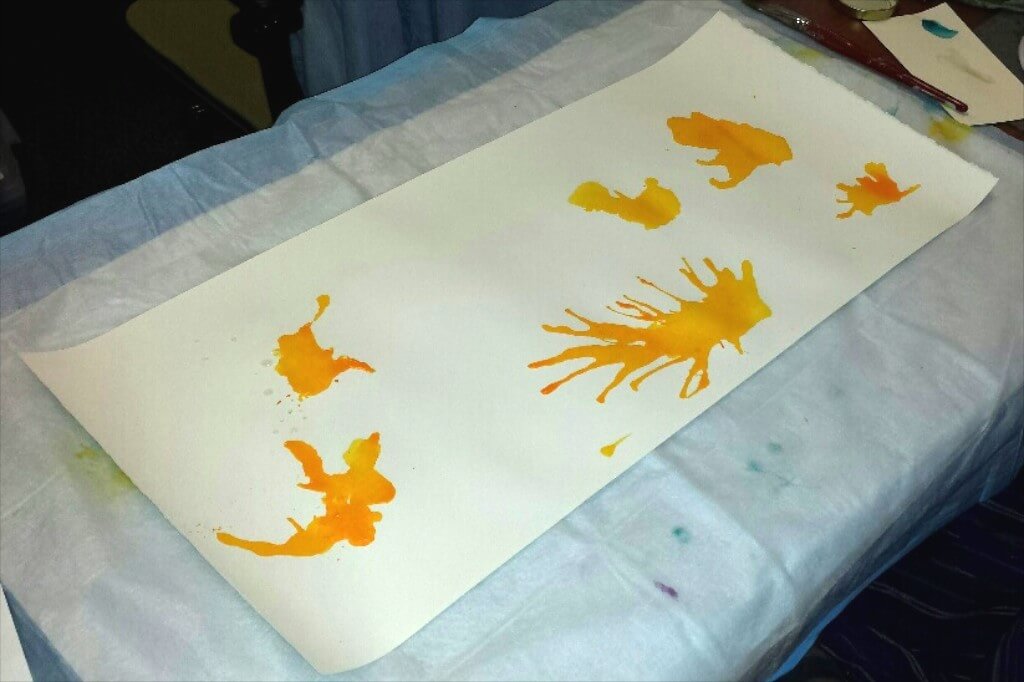
The strip of decorated Arches 90 HP watercolor paper was next. Each had her own idea of what to add to the book. These were folded like an accordion and will be attached to the inside front cover.
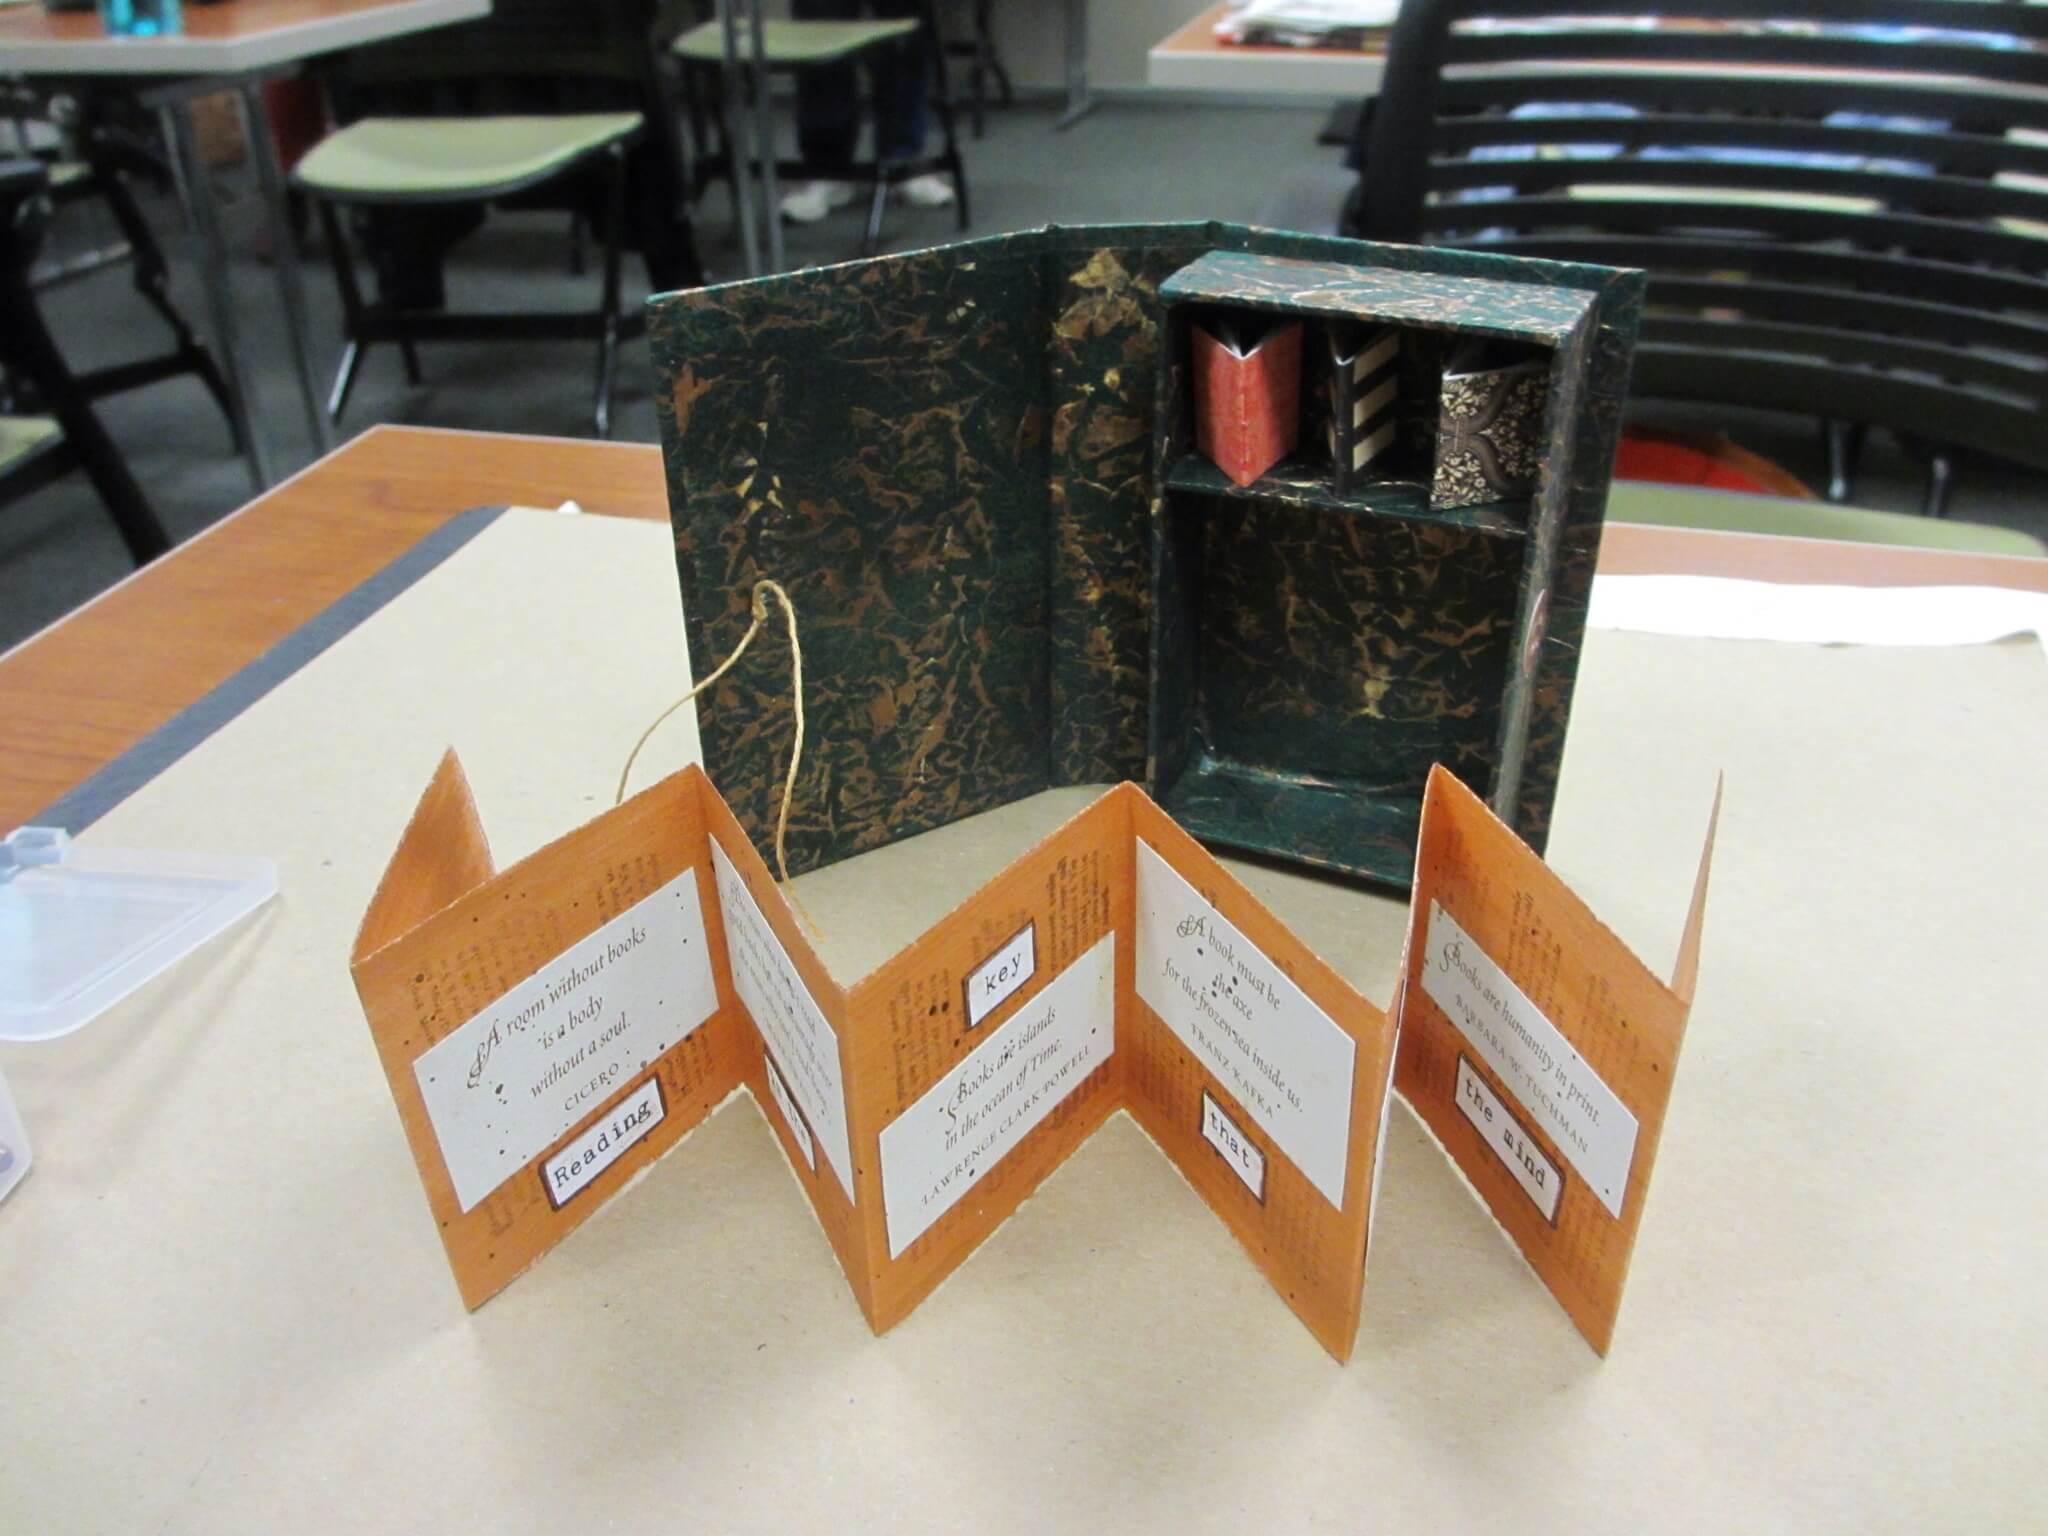
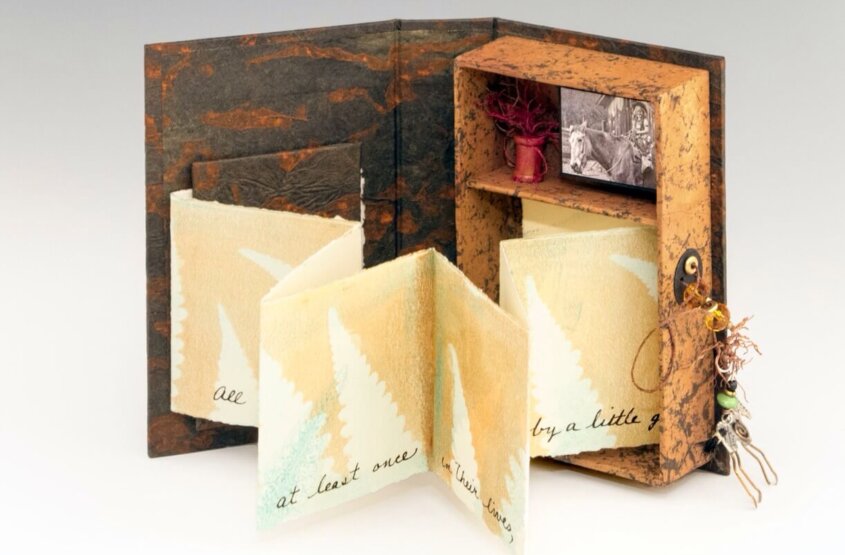
This book is almost finished. The thread needs to be trimmed and a slot added to hold the accordion fold. What a delight! The upper shelf holds miniature books and the accordion fold holds quotes about books.
Great job everyone. Working with you and your ideas is a treat in many ways. PS. Thanks for the real treats for our long work session today.


